
Affiliate Disclosure
HVAC Guide Guys is a participant in the Amazon Services LLC Associates Program, an affiliate advertising program designed to provide a means for sites to earn advertising fees by advertising and linking to Amazon.
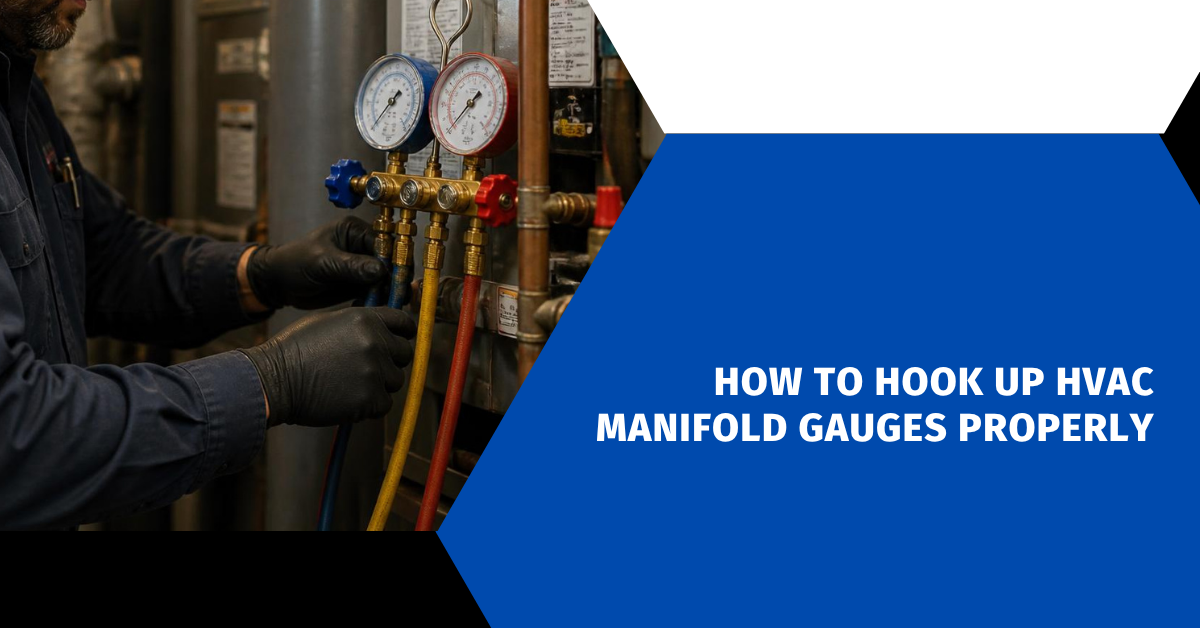
Are you tired of guessing how to hook up HVAC manifold gauges? This can damage your system. Learning to connect them right is key for HVAC pros. It saves time, prevents failures, and ensures your system works well.
Hooking up HVAC gauges needs precision and knowledge. These tools help measure pressures and diagnose issues. They’re vital for keeping air conditioning systems running in vehicles, homes, and businesses. Whether you’re a pro or a DIYer, knowing how to connect them is essential.
This guide will show you how to connect manifold gauges safely and right. You’ll learn important techniques to protect your equipment and keep safe. Plus, you’ll ensure your system’s performance is accurate.
Key Takeaways
- Understand the importance of proper manifold gauge connection
- Learn critical safety procedures before servicing HVAC systems
- Recognize the possible dangers of wrong gauge installation
- Identify key tools and parts for a successful hookup
- Prepare for precise system checks and refrigerant management
Table of Contents
Understanding HVAC Manifold Gauge Components and Their Functions
Working with HVAC systems means you need to know your refrigerant gauges well. Your first step is understanding each part’s role and function.
Manifold gauge sets are key tools for HVAC technicians. They help monitor and service cooling systems. These tools give vital insights into system performance through their design.
Identifying Gauge Variations
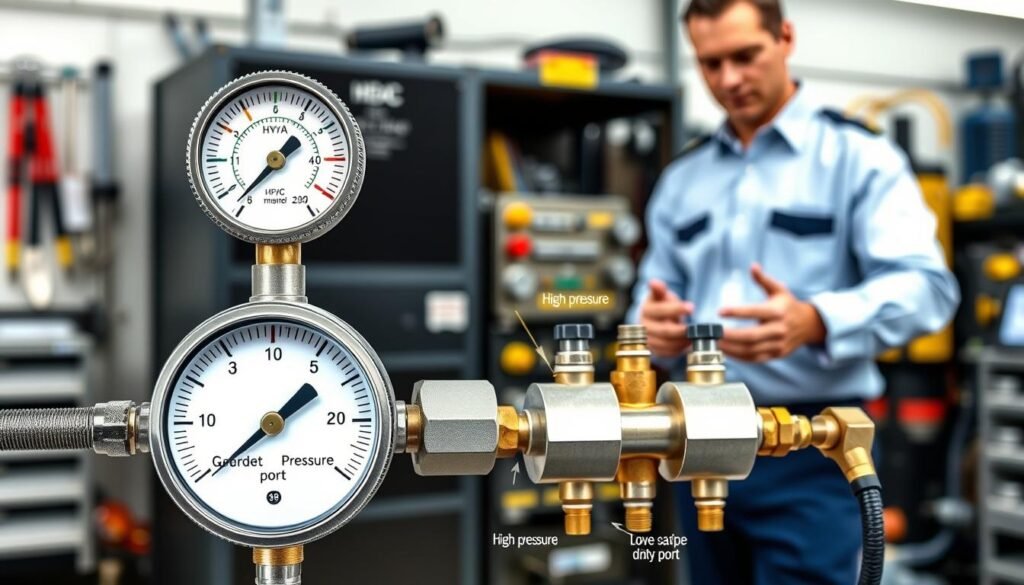
HVAC manifold gauges have three main parts:
- Low-side (blue) gauge with vacuum measurements
- High-side (red) gauge for pressure readings
- Center (yellow) service port for charging or evacuation
Manifold Body and Internal Design
The manifold body is the heart of your gauge set. It has internal passages for low and high-pressure measurements. This design keeps measurements separate during system checks.
| Gauge Color | Pressure Range | Typical Use |
|---|---|---|
| Blue | 0-250 PSI | Low-side/Suction Line |
| Red | 0-500 PSI | High-side/Discharge Line |
| Yellow | Variable | Charging/Vacuum Port |
Service Ports and Refrigerant Hoses
Your gauge set’s hoses are key for connecting to system service ports. Quick-connect and manual couplers ensure secure attachments. This is important for accurate refrigerant measurements and system servicing.
“Precision in connection determines the accuracy of your diagnostic process.” – HVAC Professional Handbook
Confirming System Refrigerant Type Before Service
Before you start with a refrigeration gauge setup, it’s key to know the right refrigerant type. Different HVAC systems need different refrigerants. Mixing them can harm your equipment a lot.
- R-22 (being phased out)
- R-410A (common in homes)
- R-134a (used in cars)
- Newer A2L refrigerants
To set up an r410a gauge correctly, you must check the refrigerant first. Mixing refrigerants can mess up your system’s performance and even break it.
| Refrigerant Type | Typical Application | Pressure Characteristics |
|---|---|---|
| R-22 | Older HVAC systems | Lower operating pressures |
| R-410A | Modern residential systems | Higher operating pressures (370 PSI minimum) |
| R-134a | Automotive air conditioning | Medium operating pressures |
To find out the refrigerant type for your setup, look at these sources:
- System nameplate
- Service port colors
- Fitting sizes
- System documentation
Pro tip: Many pros use separate gauge sets for each refrigerant. This stops cross-contamination and helps get accurate readings.
Preparing Your Manifold Gauge Set for Connection
Before starting an HVAC service, it’s key to prepare your ac manifold gauge connection well. This ensures accurate and safe diagnostics. A well-prepared manifold gauge set prevents errors and damage during the hvac gauge hookup.
Setting up your equipment involves several important steps. These steps are essential for the best performance:
- Inspect all hoses and connections for signs of wear
- Check gaskets and O-rings for leaks
- Verify the condition of service ports and fittings
Calibrating Your Gauges to Zero PSI
Getting accurate readings starts with calibration. To calibrate your manifold gauges:
- Disconnect all hoses from the system
- Ensure gauges are open to atmospheric pressure
- Check that both low and high-side gauges read exactly 0 PSI
Pro tip: Digital gauges might require electronic calibration according to manufacturer instructions.
Closing All Valves on the Manifold and Service Couplers
Before connecting to any AC system, close all valves on your manifold gauge set. This stops accidental refrigerant release and protects your equipment and the environment. Make sure hand valves on the manifold body and service coupler valves are fully shut.
Careful preparation prevents system contamination and ensures a smooth diagnostic process.
By following these steps, you’ll be ready for a successful and professional HVAC service.
Explore Our HVAC Shop
Looking for top-rated HVAC tools, parts, and accessories? Visit our shop and find the perfect solution for your needs.
Visit the ShopHow to Hook Up HVAC Manifold Gauges
Learning to connect HVAC manifold gauges is key for HVAC techs and DIY fans. The installation needs precision and focus for accurate system checks and performance.
- Check the refrigerant type for your system
- Calibrate gauges to zero PSI
- Close all manifold and service couplers
- Get your connection tools ready
Here’s how to connect your gauges:
- Find the high-side and low-side service ports
- Connect the blue low-side hose to its port
- Attach the red high-side hose to its port
- Make sure all connections are tight and leak-free
“Precision in HVAC gauge installation prevents system failures and ensures accurate readings.”
Here are some key tips for installing your hvac gauge set:
| Step | Key Action | Importance |
|---|---|---|
| 1 | Check Port Compatibility | Prevent Incorrect Connections |
| 2 | Use Proper Adapters | Ensure Secure Fit |
| 3 | Tighten Connections | Prevent Refrigerant Leaks |
Always follow the manufacturer’s instructions and wear safety gear when installing hvac manifold gauges.
Connecting Manifold Gauges to AC System Service Ports
Connecting refrigerant gauges to HVAC system service ports is key to keeping air conditioning working right. You need to know how to do it correctly and do it carefully.
First, get your manifold gauge set ready and check it over. You must find the service ports on your HVAC system. These can differ based on whether it’s for homes or cars.
Identifying Service Port Locations
- Residential split systems have low-side ports on big suction lines
- High-side ports are on smaller liquid lines
- Automotive systems have ports near the compressor or firewall
Connecting the Blue Hose to Low-Side Port
To connect the blue hose to the low-side port, follow these steps:
- Take off the protective cap
- Find the low-side port (marked with “L” or blue)
- Match the blue hose coupler with the port
- Press or thread it in securely
Connecting the Red Hose to High-Side Port
Connecting the red hose to the high-side port is similar. Remember, a bit of refrigerant might leak when attaching.
| Coupler Type | Connection Method |
|---|---|
| Quick-Connect | Push and lock mechanism |
| Manual Couplers | Thread or turn knob to secure |
To cut down on refrigerant loss, some use check valves or low-loss fittings. Always be gentle with service ports to avoid damage.
Explore Our HVAC Shop
Looking for top-rated HVAC tools, parts, and accessories? Visit our shop and find the perfect solution for your needs.
Visit the ShopReading Pressure Gauges and Interpreting System Performance
Understanding manifold gauge pressure readings is key when working with HVAC systems. After setting up HVAC manifold gauges, you’ll need to read the pressure measurements carefully. This ensures your system works at its best.

First, run your HVAC system for 3-5 minutes. This lets the pressures settle. Look for these important signs:
- Low-side gauge reading (suction pressure)
- High-side gauge reading (discharge pressure)
- Comparison to manufacturer specifications
Different refrigerants need specific pressure ranges. Here’s a quick guide:
| Refrigerant Type | Low-Side PSI | High-Side PSI |
|---|---|---|
| R-22 | 60-80 | 200-250 |
| R-410A | 70-90 | 250-350 |
Strange pressure readings can mean different problems:
- Low suction with low discharge: Might be a low refrigerant charge
- High suction with low discharge: Could be a compressor issue
- Normal suction with very high discharge: Could be a condenser problem or overcharge
Remember: Ambient temperature and system design affect pressure readings. Always check the manufacturer’s specs for accurate guidance.
Learning to use HVAC manifold gauges and understand their readings is vital. With practice, you’ll quickly spot issues and keep your cooling system running smoothly.
Evacuating the AC System Using Manifold Gauges
Proper evacuation is key in your refrigeration gauge setup. When working on an air conditioning system, removing air and moisture is vital. It prevents damage and ensures the system works well.
The ac manifold gauge connection needs careful attention during evacuation. You’ll need specific equipment for this task. It’s important to do it safely and effectively.
Connecting to a Vacuum Pump
Setting up your vacuum pump involves several steps:
- Make sure you have an EPA-certified recovery machine
- Connect the yellow hose to the vacuum pump’s intake port
- Check that all connections are tight and secure
- Wear proper protective equipment
Opening Manifold Valves for System Evacuation
Here are the steps for successful system evacuation:
- First, close both high and low-side manifold valves
- Start the vacuum pump
- Slowly open the blue (low-side) and red (high-side) hand valves
- Watch the low-side gauge as it moves into the vacuum range
- Bring the system down to 500 microns or lower
Always hold the vacuum for 10-15 minutes to check for leaks. Then, close hand valves first, and shut off the vacuum pump. This prevents oil backflow.
Explore Our HVAC Shop
Looking for top-rated HVAC tools, parts, and accessories? Visit our shop and find the perfect solution for your needs.
Visit the ShopCharging an Empty HVAC System with Refrigerant

Charging an empty HVAC system needs careful steps and attention to the right gauge hookup. First, make sure the car engine and AC system are off. Also, keep the refrigerant source’s dispensing valve closed at the start.
Here are the key steps for connecting refrigerant gauges:
- Check that both high and low-pressure valves are closed
- Connect the high and low-side couplers to the service ports
- Open the couplers by turning the top knob clockwise
- Open the refrigerant source valve
- Open the low-side valve on your manifold gauge set
Charging the system requires watching the gauges closely. You should charge until the gauges show over 50 pounds of pressure. Important safety tip: Always charge through the low side when the system is off to avoid compressor damage.
Once you reach the initial pressure, close the low-side valve on your manifold gauge set. This ensures a safe and controlled way to add refrigerant. It protects your HVAC system’s sensitive parts during charging.
Professional technicians suggest weighing the refrigerant cylinder to track the exact amount added during charging.
Adding Refrigerant to a Low AC System
When your air conditioning system is low on refrigerant, knowing how to use HVAC manifold gauges is key. This is important for keeping your system cool. Charging refrigerant needs to be done with care to work right.
Before you start, get your tools ready and make sure the area is right for service. The right pressure readings on the manifold gauges will tell you how much refrigerant you need.
Positioning the Refrigerant Source
Here are important steps for the refrigerant source:
- Keep the refrigerant container in an upright position
- Ensure the dispensing valve remains closed initially
- Verify the container is at room temperature
- Check that the refrigerant type matches your system
Monitoring Gauge Readings During Charging
Follow these steps when adding refrigerant:
- Start the vehicle or AC system
- Set controls to maximum cooling
- Open the blue low-side manifold valve slowly
- Watch both high and low-side pressure gauges
- Add refrigerant until reaching manufacturer specifications
“Precision is key when charging an AC system. Always follow manufacturer guidelines and use proper safety equipment.”
Charging can take a while. The system can only take in refrigerant at a certain rate. Be patient and watch closely to keep your cooling system running well.
Disconnecting Manifold Gauges from the System Safely
When you’re ready to finish your HVAC service port connection, it’s key to disconnect the refrigeration gauge setup right. Following the correct steps is vital to protect your equipment and the system you’re working on.
First, make sure all manifold hand valves are shut tight. This step is essential to stop refrigerant from leaking out during disconnection. Your aim is to fully separate the gauge set from the system.
- Close the blue (low side) hand valve
- Close the red (high side) hand valve
- Turn the manual coupler knob until finger-tight
- Slide the coupler sleeve upward to release from the service port
If the system is running, you can disconnect without worry if the valves stay closed. Always replace protective caps on service ports immediately after disconnection to avoid contamination and refrigerant leaks.
“Proper disconnection is as important as the initial connection in HVAC service work.”
Remember, some refrigerant might stay in your hoses and manifold. This is okay under EPA rules and can be lessened with check valves and low-loss fittings.
After disconnecting, store your gauges properly. Coil hoses loosely, protect from impacts, and keep them in a clean, dry spot. Regular upkeep keeps your refrigeration gauge setup ready for the next time.
Conclusion
Learning to hook up HVAC manifold gauges is key for anyone in refrigeration. Professional technicians know it’s all about precision and practice. This guide helps you learn to diagnose and service air conditioning systems safely.
Safety and accuracy are top when working with refrigeration. You need to connect gauges right, read pressures, and evacuate systems correctly. This keeps the HVAC system and the environment safe. Getting EPA 608 certified helps you learn about refrigerant handling and regulations.
Invest in learning about your equipment and keeping gauges in top shape. Always use professional techniques. Whether you’re an HVAC tech or a DIY fan, knowing how to hook up manifold gauges is essential.
Keep learning and practicing to get better at HVAC service. Stay up-to-date with industry standards and new technologies. This will boost your skills and career.