Affiliate Disclosure
HVAC Guide Guys is a participant in the Amazon Services LLC Associates Program, an affiliate advertising program designed to provide a means for sites to earn advertising fees by advertising and linking to Amazon.
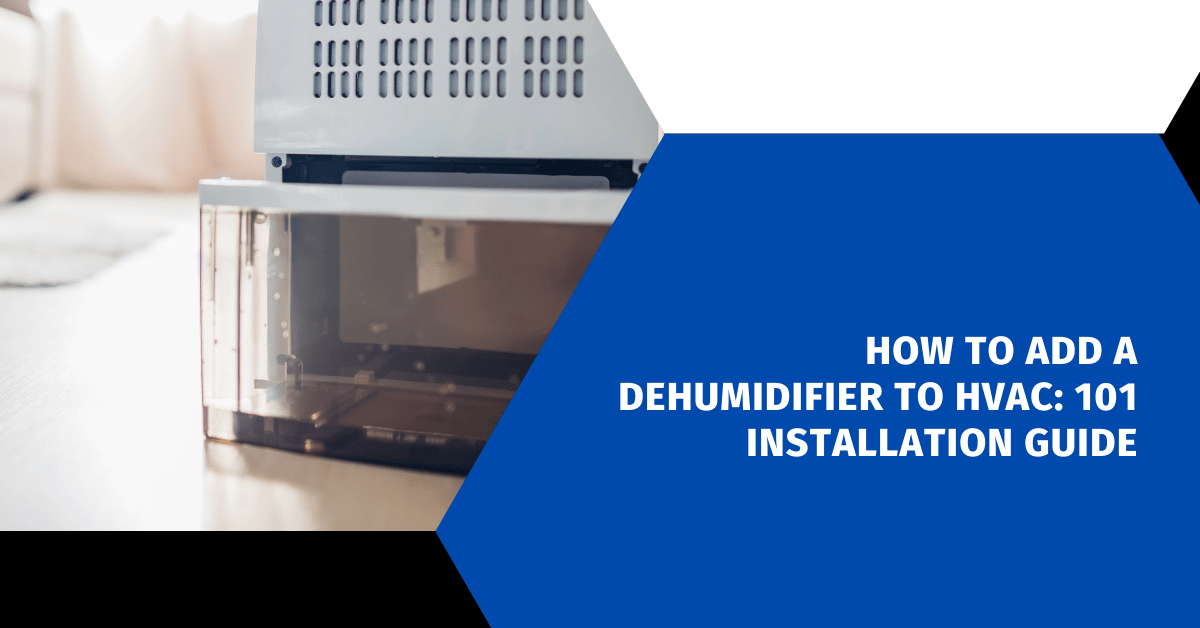
Feeling sticky and uncomfortable at home? A simple change to your HVAC system could make a big difference. Adding a whole-house dehumidifier might be just what you need for better air quality and comfort.

Too much moisture can harm your home, leading to mold, bad smells, and health issues. A professional installation of a dehumidifier can solve these problems. This guide will show you how to add a dehumidifier to your HVAC system, keeping your home dry and healthy.
Many homeowners face humidity issues during seasons when air conditioning isn’t on all the time. A whole-house dehumidifier offers a smart way to manage moisture levels. It lets you control your home’s climate fully.
Key Takeaways
- Whole-house dehumidifiers solve humidity problems across different seasons
- Improves overall indoor air quality and comfort
- Reduces potential for mold and mildew growth
- Enhances HVAC system efficiency
- Provides comprehensive moisture control for entire home
Table of Contents
Understanding Whole-House Dehumidification Benefits
Upgrading your home’s HVAC system can greatly improve comfort and air quality. Whole-house dehumidification is a key solution for managing moisture indoors. It offers many benefits that go beyond just controlling temperature.
Impact on Indoor Air Quality Improvement
Too much humidity can harm your health. A whole-house dehumidifier helps by reducing:
- Mold and mildew growth
- Dust mite populations
- Airborne allergen concentrations
- Musty odors in living spaces
Energy Efficiency Advantages
Your HVAC system works harder in humid air. Whole-house dehumidification can:
- Reduce air conditioning workload
- Lower energy consumption
- Decrease utility bill expenses
- Extend HVAC system lifespan
Comfort Level Improvements
Optimal humidity levels make your home more comfortable. Balanced moisture control lets you feel cooler and more comfortable, even in the hottest summer months.
Proper humidity management is key to creating a healthy, comfortable living space.
Explore Our HVAC Shop
Looking for top-rated HVAC tools, parts, and accessories? Visit our shop and find the perfect solution for your needs.
Visit the ShopAssessing Your Current HVAC System Compatibility
Before getting a dehumidifier, it’s key to know about your home’s hvac humidity control. Your current HVAC system is vital for managing moisture and comfort inside.
When checking if your system works well with humidity, look at these important points:
- Age of current HVAC system
- Existing cooling capacity
- Current performance in moisture control
- Ductwork condition and configuration
Choosing the right dehumidifier size for your HVAC is a detailed process. You need to consider your home’s size, climate, and air conditioning efficiency. These factors help find the best solution.
Look out for these signs that your system might need more help with dehumidification:
- Persistent musty odors
- Visible moisture condensation
- Frequent allergy or respiratory issues
- High indoor humidity levels above 60%
Professional HVAC technicians can give a detailed check of your system. They can suggest the best way to manage humidity in your home.
How to Add a Dehumidifier to HVAC
Adding a dehumidifier to your HVAC system is key for better air quality and moisture control. It needs careful planning and expert skills for the best results and system fit.
Essential Tools and Materials
Before starting your HVAC upgrades, make sure you have these tools:
- Whole-house dehumidifier
- Adjustable wrench
- Screwdriver set
- Electrical tape
- Drain line tubing
- Mounting brackets
- Protective gloves
Critical Safety Precautions
Safety is crucial during dehumidifier setup. Always follow these steps:
- Turn off electrical power to HVAC system
- Wear protective safety equipment
- Check if systems are compatible
- Follow the manufacturer’s installation guide
- Get a licensed HVAC pro if unsure
Installation Method Strategies
There are different ways to install a dehumidifier, based on your HVAC setup. The main methods are:
| Installation Method | Complexity | Recommended For |
|---|---|---|
| Dedicated Return to Supply | Advanced | Comprehensive moisture control |
| Ductwork Integration | Intermediate | Existing HVAC systems |
| Standalone Unit | Basic | Limited space configurations |
Professional tip: Proper dehumidifier installation can reduce indoor humidity levels by up to 60%, significantly improving air quality and comfort.
Each method has its own needs for the best moisture control and system performance. Your home’s layout and HVAC system will decide the best approach.
Explore Our HVAC Shop
Looking for top-rated HVAC tools, parts, and accessories? Visit our shop and find the perfect solution for your needs.
Visit the ShopChoosing the Right Location for Installation
Finding the best spot for your whole-house dehumidifier is key. It affects how well your system works and your HVAC upgrades.

Think about these important factors when planning your dehumidifier setup:
- Proximity to existing HVAC equipment
- Accessibility for maintenance
- Adequate ventilation space
- Structural support
Experts usually suggest placing your dehumidifier close to your main heating and cooling system. Common spots include:
- Attic spaces
- Basement areas
- Utility rooms
- Dedicated mechanical spaces
| Location | Pros | Cons |
|---|---|---|
| Attic | Easy ductwork connection | Temperature extremes |
| Basement | Cool, stable environment | Potential moisture issues |
| Utility Room | Convenient access | Limited space |
Pro tip: Make sure your chosen spot has enough room around the dehumidifier for airflow and maintenance. Talk to an HVAC expert to find the best place for your home.
Dedicated Return to Supply Installation Method
The dedicated return to supply method is a smart way to control humidity in your home. It helps manage moisture levels effectively. This method is key for keeping your indoor air dry and comfortable.
Detailed Installation Process
Installing a dehumidifier needs careful planning and precise steps. Here’s what to do:
- Find the best spot in your HVAC system to connect the dehumidifier.
- Set up a special return duct for the dehumidifier.
- Check and confirm the static pressure needs.
- Connect the dehumidifier to the supply plenum.
- Make sure the electrical connections are correct.
Significant Benefits of This Approach
This method has many benefits for controlling humidity:
- It keeps static pressure low.
- The dehumidifier works on its own.
- It’s very good at saving energy.
- It keeps moisture levels steady.
Potential Installation Challenges
Even though it’s effective, this method might face some hurdles:
| Challenge | Potential Solution |
|---|---|
| Complex HVAC setup | Get a pro to check it out |
| Static pressure limits | Take precise measurements and might need to adjust the system |
| Complex electrical connections | Ask a certified HVAC tech for help |
Having a pro handle the installation can help avoid these issues. They’ll make sure everything goes smoothly.
Connecting Dehumidifier to Existing Ductwork

Adding a dehumidifier to your HVAC system needs careful planning and precise installation. It’s important to connect it right to your home’s ductwork for best moisture removal and system performance.
To start, find the best spots in your ductwork for the dehumidifier. You’ll need to follow a few steps for a smooth setup:
- Locate the optimal return air grille placement
- Measure existing ductwork dimensions
- Select appropriate flexible ductwork
- Prepare for precise cutting and sealing
Upgrading your HVAC system requires a detailed plan for connecting the dehumidifier. Precision is key when making new openings in your ductwork. Follow these tips for a secure link:
- Cut a new return air grille in a central location
- Install flexible ductwork from the dehumidifier to the new grille
- Connect the dehumidifier’s output to the existing supply ductwork
- Seal all connections to prevent air leaks
Sealing well is vital for system efficiency. Air leaks can hurt your dehumidifier’s work and your HVAC’s overall performance. Use top-notch metal tape or duct sealant for tight connections.
Pro tip: Always double-check your connections and test the system thoroughly after installation to guarantee optimal moisture control and air quality.
Explore Our HVAC Shop
Looking for top-rated HVAC tools, parts, and accessories? Visit our shop and find the perfect solution for your needs.
Visit the ShopSetting Up Drainage and Electrical Connections
Proper dehumidifier installation needs careful attention to drainage and electrical connections. Your whole-house dehumidifier must be set up right for effective humidity control and moisture removal.
Drain Line Installation Guidelines
When setting up your dehumidifier’s drainage system, follow these critical steps for moisture removal techniques:
- Use rigid PVC piping for the condensate drain line
- Ensure a minimum 1/4 inch downward slope per foot of pipe
- Route the drain line to an appropriate exterior drainage point
- Avoid sharp bends that could restrict water flow
Electrical Wiring Requirements
Electrical connections demand precision during dehumidifier installation. Your HVAC system will require specific electrical considerations:
| Electrical Requirement | Specification |
|---|---|
| Voltage | 120V dedicated circuit |
| Amperage | 15-20 amp circuit |
| Wiring Type | Copper wire, 14-12 gauge |
Safety Checks and Testing
Before completing your hvac humidity control installation, perform these crucial safety checks:
- Verify all electrical connections are tight and secure
- Test drain line for unobstructed water flow
- Check humidistat calibration
- Confirm proper system integration with existing HVAC
Professional consultation is recommended to ensure safe and effective dehumidifier installation that meets local building codes and manufacturer specifications.
Programming and Optimizing System Performance
To get the best out of your new dehumidification system, you need to program it right. Understanding and setting your device’s settings is key to saving energy.
Begin by setting your humidity levels. Experts say aim for 35-50% humidity. This keeps you comfortable and prevents too much moisture.
- Configure seasonal humidity settings
- Integrate dehumidifier with existing HVAC system
- Optimize fresh air intake controls
Your dehumidifier has cool features to boost performance. Intelligent programming lets you make humidity control plans just for you. You can set it to change settings based on the weather outside.
Here are some important tips for setting up:
- Set temperature lockout ranges (e.g., disable fresh air intake below 40°F or above 90°F)
- Create different humidity profiles for day and night
- Monitor and adjust settings periodically
Regularly tweaking your settings keeps your humidity control working well. By spending time on the right setup, you’ll enjoy better comfort and save on energy.
Conclusion
Adding a dehumidifier to your HVAC system is a smart move for better indoor air. It can make your home more comfortable and efficient. You might spend $1,300 to $2,800 for a whole-house dehumidifier.
Your new system does more than just remove moisture. It keeps your home safe from mold, reduces allergens, and makes it more comfortable. Installing it right is key to get the best results and save energy.
Getting a pro to install it ensures it works well and avoids problems. Keeping it maintained helps it last longer and work better. This investment improves your home’s air and health, making it a better place for your family.
Every home is different, so talking to an HVAC expert is a good idea. They can help you find the best solution for your home. Improving your indoor air quality will make your home healthier, more comfortable, and easier to maintain in the long run.
FAQ
What are the main benefits of adding a dehumidifier to my HVAC system?
How do I know if my current HVAC system is compatible with a whole-house dehumidifier?
What tools and materials do I need for dehumidifier installation?
Where is the best location to install a whole-house dehumidifier?
What is the “dedicated return to supply” installation method?
How complicated is the electrical and drainage setup for a whole-house dehumidifier?
How much can I expect to spend on a whole-house dehumidifier?
FAQ
What are the main benefits of adding a dehumidifier to my HVAC system?
Adding a whole-house dehumidifier to your HVAC system has many benefits. It improves indoor air quality by reducing allergens and preventing mold. It also makes your home more comfortable by keeping humidity levels just right.
How do I know if my current HVAC system is compatible with a whole-house dehumidifier?
Check if your system is old, small, or not good at handling humidity. Look for signs like moisture, musty smells, or condensation. Make sure your system’s size and ductwork fit the dehumidifier well.
What tools and materials do I need for dehumidifier installation?
You’ll need a drill, measuring tape, and basic tools. You’ll also need ductwork connectors, electrical cables, and mounting brackets. Always check the manufacturer’s guide for your dehumidifier model.
Where is the best location to install a whole-house dehumidifier?
The best spots are near your HVAC system, in attics, or basements. Choose a place that’s easy to get to for maintenance and has good ventilation. Think about how close it is to electrical connections and drainage.
What is the “dedicated return to supply” installation method?
This method adds a new return duct and connects the dehumidifier to your HVAC system’s supply plenum. It’s very effective for controlling humidity and improving system efficiency.
How complicated is the electrical and drainage setup for a whole-house dehumidifier?
The setup needs some care, but most DIY folks can handle it. Make sure electrical connections meet local codes and the drain line is set up right. If unsure, get a pro to do it.
How much can I expect to spend on a whole-house dehumidifier?
Prices vary based on capacity and features, usually between
FAQ
What are the main benefits of adding a dehumidifier to my HVAC system?
Adding a whole-house dehumidifier to your HVAC system has many benefits. It improves indoor air quality by reducing allergens and preventing mold. It also makes your home more comfortable by keeping humidity levels just right.
How do I know if my current HVAC system is compatible with a whole-house dehumidifier?
Check if your system is old, small, or not good at handling humidity. Look for signs like moisture, musty smells, or condensation. Make sure your system’s size and ductwork fit the dehumidifier well.
What tools and materials do I need for dehumidifier installation?
You’ll need a drill, measuring tape, and basic tools. You’ll also need ductwork connectors, electrical cables, and mounting brackets. Always check the manufacturer’s guide for your dehumidifier model.
Where is the best location to install a whole-house dehumidifier?
The best spots are near your HVAC system, in attics, or basements. Choose a place that’s easy to get to for maintenance and has good ventilation. Think about how close it is to electrical connections and drainage.
What is the “dedicated return to supply” installation method?
This method adds a new return duct and connects the dehumidifier to your HVAC system’s supply plenum. It’s very effective for controlling humidity and improving system efficiency.
How complicated is the electrical and drainage setup for a whole-house dehumidifier?
The setup needs some care, but most DIY folks can handle it. Make sure electrical connections meet local codes and the drain line is set up right. If unsure, get a pro to do it.
How much can I expect to spend on a whole-house dehumidifier?
Prices vary based on capacity and features, usually between $1,000 and $2,500. This includes installation. It’s a big investment, but you’ll save money in the long run on energy and maintenance.
How often does a whole-house dehumidifier require maintenance?
You’ll need to have it checked by a pro once a year, clean or replace filters every few months, and check the drain line. Most systems are easy to care for, but following the manufacturer’s advice is key.
Can I install a dehumidifier myself, or should I hire a professional?
If you’re good with DIY, you might be able to install it. But, hiring a pro is safer. They ensure it’s done right and keep your warranty valid.
How will a whole-house dehumidifier impact my energy bills?
A well-installed dehumidifier can lower your energy bills. It makes your home feel cooler at higher temperatures. This can save you 10-15% on cooling costs in humid months.
,000 and ,500. This includes installation. It’s a big investment, but you’ll save money in the long run on energy and maintenance.
How often does a whole-house dehumidifier require maintenance?
You’ll need to have it checked by a pro once a year, clean or replace filters every few months, and check the drain line. Most systems are easy to care for, but following the manufacturer’s advice is key.
Can I install a dehumidifier myself, or should I hire a professional?
If you’re good with DIY, you might be able to install it. But, hiring a pro is safer. They ensure it’s done right and keep your warranty valid.
How will a whole-house dehumidifier impact my energy bills?
A well-installed dehumidifier can lower your energy bills. It makes your home feel cooler at higher temperatures. This can save you 10-15% on cooling costs in humid months.