Affiliate Disclosure
HVAC Guide Guys is a participant in the Amazon Services LLC Associates Program, an affiliate advertising program designed to provide a means for sites to earn advertising fees by advertising and linking to Amazon.
How to Install HVAC Duct? Ready to cut down on your home comfort costs and take charge of your HVAC system? Installing your own ductwork might seem daunting. But, what if you could save thousands and learn valuable home improvement skills?

DIY ductwork installation lets homeowners boost their home’s heating and cooling efficiency. With the right tools and knowledge, you can install HVAC duct like a pro. This could save you up to $2,500 on a typical home installation.
This detailed guide will show you every important step of DIY ductwork installation. Whether you’re an experienced DIYer or new to home improvement, we’ll give you the tips and techniques you need. You’ll learn how to successfully complete your HVAC project.
Key Takeaways
- DIY ductwork can save significant installation costs
- Proper planning is crucial for successful HVAC installation
- Understanding duct materials is essential
- Precision measurements prevent future airflow problems
- Professional-grade results are achievable with careful execution
Table of Contents
Understanding HVAC Duct Installation Basics
Installing ducts in your home is key for a good heating and cooling system. Before starting, it’s important to know the basics that will help your project succeed.
Types of Ductwork Materials
Choosing the right material for your ducts is crucial. The most common ones are:
- Sheet Metal Ducts: Durable and long-lasting, perfect for permanent setups
- Fiberglass Ducts: Lightweight and insulates well
- Flexible Ducts: Great for tight spaces and around obstacles
Benefits of DIY Duct Installation
Doing it yourself has many benefits:
- Big savings on labor costs
- Full control over the quality of the installation
- Deeper knowledge of your home’s HVAC system
Cost Savings and Investment Overview
DIY duct installation can save you about $50 an hour in labor. The upfront cost of materials and tools might seem high. But, the long-term benefits include better energy efficiency and lower bills.
Proper duct installation is not just about saving money, but about creating a comfortable and efficient home environment.
Essential Tools and Materials for Ductwork Installation
Getting ready for a DIY ductwork project means having the right tools and materials. With a full toolkit ready, your hvac duct installation steps will go smoothly.
Here are the essential tools you’ll need for diy ductwork installation:
- Measuring and Cutting Tools:
- Tape measure
- Circular saw
- Reciprocating saw
- Right and left hand snips
- Straight bench snips
- Fastening and Shaping Tools:
- Claw hammer
- Hand seamers
- Barfold tool
- Drill with 1/4″ hexhead driver
- Safety Equipment:
- Work gloves
- Safety glasses
- Dust mask
Choosing the right materials is key for a strong ductwork system. Sheet metal, flexible ducts, and insulation materials should match your HVAC needs and home layout.
Pro Tip: Invest in quality tools and materials upfront to ensure a professional-grade installation and long-lasting performance.
Before starting, make sure you have all the tools and materials. This prep will help you finish your hvac duct installation steps efficiently and safely.
Explore Our HVAC Shop
Looking for top-rated HVAC tools, parts, and accessories? Visit our shop and find the perfect solution for your needs.
Visit the ShopPlanning and Design Considerations
Creating a good air distribution system needs careful planning and precise design. Your HVAC system’s performance depends on understanding the critical steps of ductwork sizing and layout.
“Proper planning is the foundation of an efficient HVAC system” – HVAC Engineering Professionals
Calculating Proper Duct Sizing
The ductwork sizing guide is key for optimal air distribution. You’ll need to consider several key factors:
- Home square footage
- Room dimensions
- Ceiling height
- Number of windows and doors
- Insulation quality
Mapping Your Duct Layout
Creating a comprehensive duct layout map is crucial. This process helps you:
- Identify optimal duct routes
- Minimize potential airflow restrictions
- Ensure efficient air circulation
- Maximize energy efficiency
Determining Strategic Register Locations
Precise register placement is essential for balanced temperature distribution. Consider factors like furniture arrangement, wall spaces, and room-specific heating and cooling needs when positioning your registers.
Pro Tip: Use professional HVAC design software or consult with an expert to create the most effective ductwork layout for your specific home configuration.
How to Install HVAC Duct: Initial Setup
Getting ready for HVAC duct installation needs careful planning and precise marking. The initial setup is key for the best airflow and system performance in your home. Before making any cuts or permanent changes, map out where your registers and vents will go.
- Carefully review your home’s architectural blueprint
- Identify potential obstructions like electrical wiring and plumbing
- Mark supply register locations with precision
- Plan return vent placements in strategic areas
Supply register locations are very important during HVAC duct installation. Pro tip: Place registers about 8 inches from walls to fit curtains and furniture. This ensures good airflow and keeps your rooms looking nice.
“Proper planning prevents poor performance in HVAC duct installation” – HVAC Professional Handbook
When placing your registers, keep these tips in mind:
| Location Type | Recommended Placement | Considerations |
|---|---|---|
| Supply Registers | Near windows and exterior walls | Counteract cold/heat infiltration |
| Return Vents | Central room locations | Maximize air circulation |
| Floor Registers | 8″ from walls | Prevent furniture blockage |
Getting the initial setup right makes HVAC duct installation easier. Take your time, double-check your measurements, and plan carefully. This way, you’ll ensure your system works its best.
Explore Our HVAC Shop
Looking for top-rated HVAC tools, parts, and accessories? Visit our shop and find the perfect solution for your needs.
Visit the ShopSupply Plenum and Main Trunk Line Installation
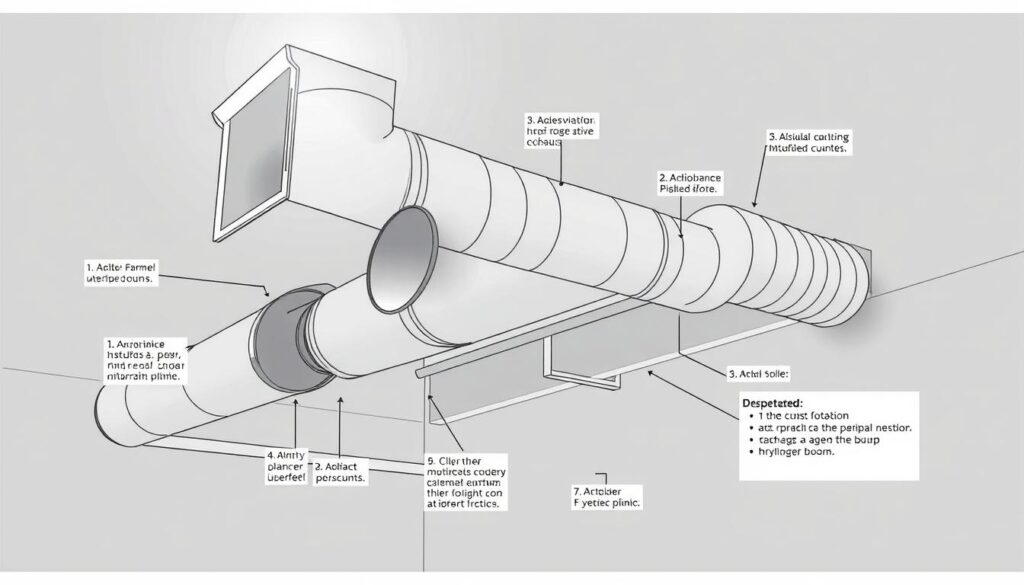
Your HVAC system’s air distribution system installation depends on precise metal ductwork setup. The supply plenum acts as the critical junction that connects your air handler to the entire ductwork network. It ensures efficient air circulation throughout your home.
Understanding the core components of your air distribution system is crucial for successful installation. The supply plenum serves as the primary air collection and distribution point. It directs conditioned air into various branches of your ductwork.
Plenum Assembly Techniques
When assembling the plenum, you’ll want to focus on creating a robust connection point. Key steps include:
- Measuring the air handler opening precisely
- Selecting appropriate sheet metal materials
- Ensuring square and level connections
- Creating smooth interior transitions
Trunk Line Connection Methods
Connecting trunk lines requires careful attention to detail in your metal ductwork setup. Professional instalers recommend:
- Using rigid support structures
- Maintaining consistent duct sizing
- Minimizing unnecessary bends
- Securing connections with proper fasteners
Proper Sealing Procedures
Effective sealing prevents air leakage and maintains system efficiency. Use specialized metalwork sealants and techniques to create airtight connections.
“A well-sealed duct system can improve HVAC efficiency by up to 20%.” – HVAC Engineering Association
Your goal is to create a seamless air distribution system. This maximizes performance and minimizes energy waste.
Branch Duct Installation and Connection
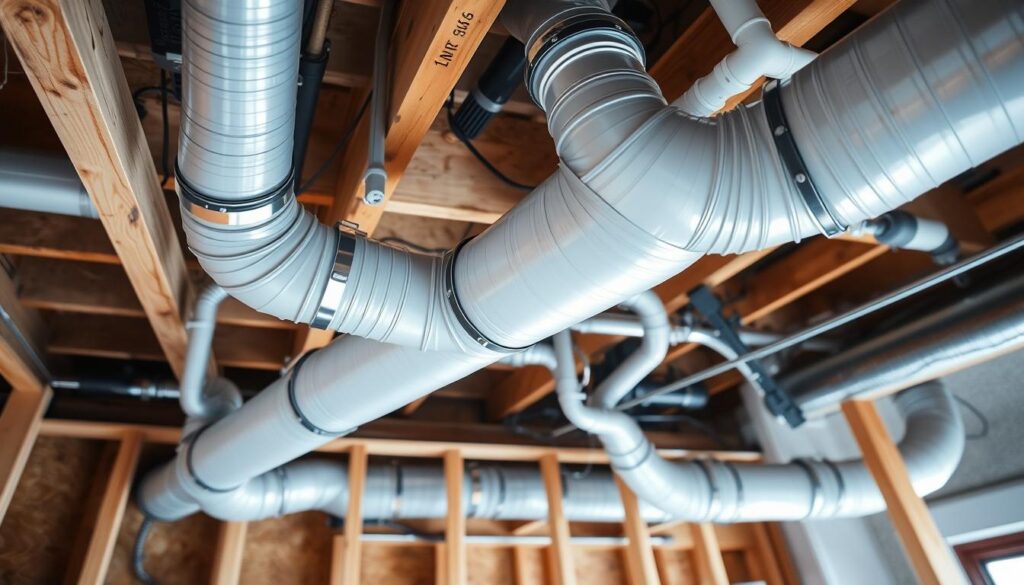
Installing HVAC ductwork is key to a good air distribution system. Branch ducts connect main lines to room registers. This ensures air flows well in your home.

The flexible duct installation process needs careful planning and precision. Follow these steps for the best results:
- Measure the distance between trunk lines and room registers
- Select appropriate duct materials based on your home’s configuration
- Cut ducts to precise lengths
- Secure connections with proper fastening techniques
Galvanized round pipes are usually recessed in joist spaces. They extend to each register. Proper installation minimizes air leakage and maximizes system efficiency. When connecting branch ducts, remember:
- Maintaining consistent duct slope
- Avoiding sharp bends that restrict airflow
- Using appropriate sealing methods
- Ensuring tight, secure connections
Pro Tip: Always use specialized duct sealant to prevent air leaks and improve overall system performance.
By following these branch duct installation techniques, you’ll have a strong HVAC system. It will distribute conditioned air well in your living space.
Return Air System Setup
Setting up an effective return air system is key in your air distribution system. It ensures good air flow and pressure balance in your home’s HVAC system.
Your return air system has important parts that work together. They help your HVAC system work well. Knowing about these parts can make your home cooler and warmer more efficiently.
Return Grille Placement Strategies
Choosing the right spot for return grilles is important for air flow. Here are some tips:
- Put grilles away from sunlight and heat
- Install in central areas with good air movement
- Keep grilles clear of obstructions
- Make sure they’re at a consistent height
Return Duct Sizing Guidelines
Right return duct size is key for your HVAC’s best performance. Here’s a guide:
| HVAC System Size | Recommended Return Duct Size | Airflow Capacity |
|---|---|---|
| 2-3 Ton System | 16 x 10 inches | 800-1200 CFM |
| 3-4 Ton System | 20 x 12 inches | 1200-1600 CFM |
| 4-5 Ton System | 24 x 14 inches | 1600-2000 CFM |
Filter Rack Installation
Installing a filter rack right is crucial for clean air. Pick the right size and type of filter for your HVAC. Proper installation keeps dust out of your ductwork.
- Measure the filter opening accurately
- Choose a high-quality, compatible filter
- Secure the filter rack firmly
- Check for air gaps during installation
By following these tips, you’ll have a strong return air system. It will improve your home’s air flow and HVAC performance.
Explore Our HVAC Shop
Looking for top-rated HVAC tools, parts, and accessories? Visit our shop and find the perfect solution for your needs.
Visit the ShopProper Duct Support and Insulation

When you do DIY ductwork installation, knowing about support and insulation is key. Your HVAC system needs the right setup to work well. This includes where and how you place your ducts.
Duct support is very important for insulation. Flexible ducts need special support to avoid sagging and keep air flowing:
- Horizontal runs: Support at intervals of 5 feet
- Vertical runs: Support at intervals of 6 feet
- Maximum sag allowance: 1/2 inch per foot of horizontal run
When you install ductwork, pick the right support materials:
- Metal hanging straps
- Adjustable wire hangers
- Rigid support brackets
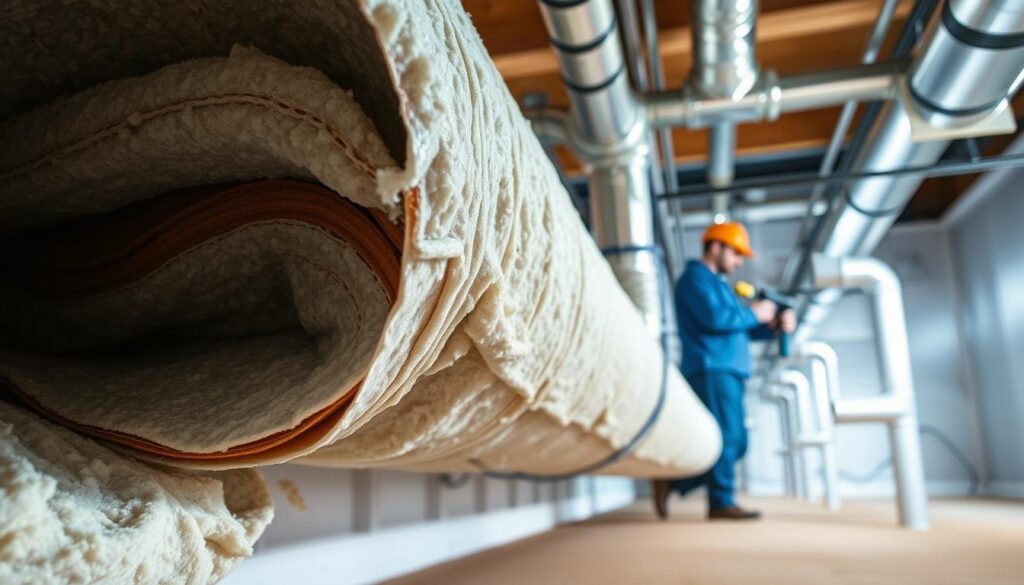
Insulation is also crucial in DIY ductwork. Good insulation stops energy loss and keeps temperatures steady. Here are some tips for insulation:
- Use fiberglass wrap for most homes
- Choose insulation with the right R-value for your area
- Make sure it covers everything without squishing it
By using these support and insulation methods, you’ll make your HVAC system more efficient. It will keep your home comfortable and save on energy.
Sealing and Testing the Duct System
Finishing your HVAC duct installation needs careful duct sealing. The last steps are key for the system’s best performance and energy use.
Effective Duct Sealing Methods
Professional duct sealing uses several methods to stop air leaks:
- Use high-quality metal tape for initial sealing
- Apply mastic sealant to all joint connections
- Wrap connections with at least two layers of approved metal tape
- Install mechanical fasteners at critical junction points
Comprehensive Pressure Testing
Pressure testing finds air leaks in your duct system. Technicians use special tools to check air pressure and find weak spots.
Airflow Verification Techniques
Checking airflow is key for comfort in your home. Use an anemometer to check air speed at different registers. This ensures each room gets the right air.
Pro tip: Seal duct connections carefully to prevent energy loss and maintain optimal HVAC system performance.
By using these duct sealing methods, you’ll make your HVAC system more efficient. This will also lower your energy bills.
Explore Our HVAC Shop
Looking for top-rated HVAC tools, parts, and accessories? Visit our shop and find the perfect solution for your needs.
Visit the ShopCommon Installation Mistakes to Avoid
Getting your HVAC ducts right is all about the details. Even those who DIY a lot can make mistakes that hurt their system’s performance.
Here are some big mistakes to watch out for when you’re installing ductwork yourself:
- Incorrect Duct Sizing: The wrong size can make your HVAC system work much harder
- Improper Flexible Duct Routing: Sharp bends or squishing the ducts is a no-go
- Inadequate Duct Support: Without support, ducts can sag and block airflow
- Poor Sealing Techniques: Leaks waste energy and lower your system’s performance
“Precision matters more than speed in ductwork installation” – HVAC Professional
Making these mistakes can lead to higher energy bills, less comfort, and even damage to your system. It’s important to plan well and do the job right to avoid these problems.
Make sure to measure correctly, use the right sealants, and support your ducts well. Taking the time to get these things right will save you a lot of hassle and money later on.
Conclusion
Learning how to install HVAC duct is a big step in home improvement. It needs careful planning and a deep understanding of your home’s heating and cooling needs. DIY ductwork installation is a big job.
Installing HVAC ducts requires a lot of attention to detail. You need to pick the right materials and make sure everything is sealed and supported well. This guide will help you create a duct system that makes your home more comfortable and energy-efficient.
While doing it yourself can save money, know your limits. If you’re not sure about any part of the installation, it’s best to get help from HVAC experts. Your home’s comfort and safety are the most important things.
A well-installed duct system is a smart investment for your home. With patience, careful planning, and the knowledge from this guide, you’re ready to take on your HVAC duct installation project. You’ll do it with confidence and skill.
FAQ
What are the main types of ductwork materials?
How difficult is DIY HVAC duct installation for a homeowner?
What tools do I need for HVAC duct installation?
How do I determine the correct duct size for my home?
What are the most common mistakes in duct installation?
How important is duct insulation?
How do I seal my ductwork effectively?
How much can I save by installing ductwork myself?
FAQ
What are the main types of ductwork materials?
Main ductwork materials are sheet metal, fiberglass, and flexible ducts. Sheet metal is durable. Fiberglass insulates well. Flexible ducts fit tight spaces. Choose based on your home and HVAC needs.
How difficult is DIY HVAC duct installation for a homeowner?
DIY duct installation is moderately hard. It needs planning, basic skills, and detail. DIY experts can do it, but beginners should research and prepare well.
What tools do I need for HVAC duct installation?
You’ll need a tape measure, snips, cutters, crimpers, and a marker. Also, a level, drill, hammer, gloves, safety glasses, and a measuring tape. You might also need duct sealant, metal tape, and support straps.
How do I determine the correct duct size for my home?
To find the right duct size, calculate your home’s square footage and the HVAC system’s capacity. Use Manual J calculations. Consider room size, ceiling height, insulation, and climate. Experts can help with this.
What are the most common mistakes in duct installation?
Mistakes include wrong duct sizing and too many bends in flexible ducts. Also, not enough support, sealing, or proper register placement. These can lower efficiency and cause system failure.
How important is duct insulation?
Duct insulation is very important, especially in unconditioned areas. It prevents energy loss and keeps temperatures even. Without it, you’ll waste energy and see poor HVAC performance.
How do I seal my ductwork effectively?
Use mastic sealant or metal tape on all joints and seams. Make sure connections are airtight. Then, test the system for leaks.
How much can I save by installing ductwork myself?
DIY can save 50-70% on costs. For a typical home, that’s
FAQ
What are the main types of ductwork materials?
Main ductwork materials are sheet metal, fiberglass, and flexible ducts. Sheet metal is durable. Fiberglass insulates well. Flexible ducts fit tight spaces. Choose based on your home and HVAC needs.
How difficult is DIY HVAC duct installation for a homeowner?
DIY duct installation is moderately hard. It needs planning, basic skills, and detail. DIY experts can do it, but beginners should research and prepare well.
What tools do I need for HVAC duct installation?
You’ll need a tape measure, snips, cutters, crimpers, and a marker. Also, a level, drill, hammer, gloves, safety glasses, and a measuring tape. You might also need duct sealant, metal tape, and support straps.
How do I determine the correct duct size for my home?
To find the right duct size, calculate your home’s square footage and the HVAC system’s capacity. Use Manual J calculations. Consider room size, ceiling height, insulation, and climate. Experts can help with this.
What are the most common mistakes in duct installation?
Mistakes include wrong duct sizing and too many bends in flexible ducts. Also, not enough support, sealing, or proper register placement. These can lower efficiency and cause system failure.
How important is duct insulation?
Duct insulation is very important, especially in unconditioned areas. It prevents energy loss and keeps temperatures even. Without it, you’ll waste energy and see poor HVAC performance.
How do I seal my ductwork effectively?
Use mastic sealant or metal tape on all joints and seams. Make sure connections are airtight. Then, test the system for leaks.
How much can I save by installing ductwork myself?
DIY can save 50-70% on costs. For a typical home, that’s $1,500-$3,000. Savings depend on your skill and the system’s complexity.
When should I consider hiring a professional instead of DIY?
Hire a pro if you’re not experienced, uncomfortable with tight spaces, or have a complex home. Also, if DIY is too hard or you’re unsure, get professional help.
How long does a typical ductwork installation take?
For a typical home, installation takes 2-5 days for a skilled DIYer. Size, layout, and experience affect the time. Good planning helps.
,500-,000. Savings depend on your skill and the system’s complexity.
When should I consider hiring a professional instead of DIY?
Hire a pro if you’re not experienced, uncomfortable with tight spaces, or have a complex home. Also, if DIY is too hard or you’re unsure, get professional help.
How long does a typical ductwork installation take?
For a typical home, installation takes 2-5 days for a skilled DIYer. Size, layout, and experience affect the time. Good planning helps.

