How to Apply HVAC Mastic? Are you losing money through invisible air leaks in your home’s ductwork? The secret to an efficient HVAC system might be simpler than you think. Applying HVAC mastic is a powerful solution for duct sealing that can transform your home’s energy performance.

The average home loses 20 to 30 percent of heating and cooling through duct leaks. By learning how to apply HVAC mastic, you can dramatically improve your HVAC system efficiency. This makes your home more comfortable.
This comprehensive guide will walk you through the essential techniques of duct sealing. You’ll learn to save energy, reduce utility costs, and maintain optimal indoor air quality. Whether you’re a DIY enthusiast or a homeowner looking to improve your HVAC system, mastering mastic application is a skill that pays dividends.
Key Takeaways
- Seal air ducts to prevent significant energy loss
- Improve HVAC system efficiency with proper mastic application
- Reduce monthly energy costs through effective duct sealing
- Enhance indoor air quality by preventing air leaks
- Learn professional-grade techniques for long-lasting results
Table of Contents
Understanding HVAC Duct Sealing and Its Importance
Your home’s HVAC system does more than just control the temperature. It’s key to keeping your home energy-efficient and the air clean. Leaky ducts can make your home less comfortable and cost you more money.
Leaky ducts can cause big problems. They let conditioned air escape, making your HVAC system less efficient.
Energy Loss Prevention
Duct sealing does more than just keep your home warm or cool. Unsealed ducts can waste up to 30% of your heating and cooling energy. This leads to:
- Higher utility bills
- Increased energy consumption
- Reduced system performance
Impact on Indoor Air Quality
Good duct sealing is vital for clean indoor air. Leaky ducts can bring in:
- Dust and allergens
- Humidity
- Potential mold spores
Cost Savings Benefits
Professional duct sealing can save you a lot of money in the long run. Homeowners can save 10-20% on their annual energy costs with sealed ductwork.
A well-sealed HVAC system is an investment in your home’s comfort and efficiency.
Explore Our HVAC Shop
Looking for top-rated HVAC tools, parts, and accessories? Visit our shop and find the perfect solution for your needs.
Visit the ShopEssential Tools and Materials for Duct Sealing
To seal ducts well, you need the right tools and materials. Using top-notch equipment ensures a strong seal. This stops air leaks and boosts your HVAC system’s performance.
- High-quality HVAC mastic
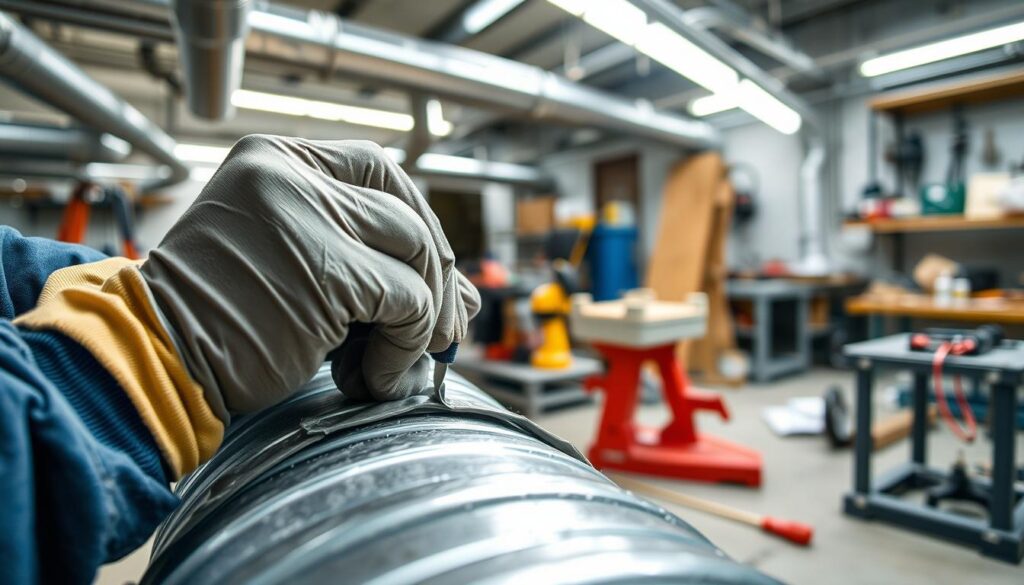
- Professional-grade HVAC tape
- Putty knife or specialized application brush
- Cleaning rags and degreasing solution
- Measuring tape
- Protective gloves and safety glasses
Choosing the right materials is key. Not all tapes are created equal. HVAC tape is better than regular duct tape because it sticks well and can handle high temperatures.
When picking tools, consider these points:
- Look for mastic made for HVAC use
- Choose tools that can get into tight spots
- Go for quality materials for lasting results
Professional-grade tools might cost more upfront but save you money through better performance and durability.
Knowing what your duct system needs helps you pick the best tools and materials. This ensures a successful repair or maintenance job.
Explore Our HVAC Shop
Looking for top-rated HVAC tools, parts, and accessories? Visit our shop and find the perfect solution for your needs.
Visit the ShopSafety Precautions and Preparation Steps
Getting ready for HVAC duct sealing is key. Your safety and the job’s quality depend on good planning and protective gear. Knowing how to stay safe can avoid injuries and make the job go smoothly.
Personal Protective Equipment
Wearing the right gear is vital for duct sealing safety. Your safety equipment is your first line of defense against dangers.
- Safety glasses to protect eyes from dust and debris
- Respirator or dust mask for respiratory protection
- Work gloves to prevent skin contact with chemicals
- Long-sleeved shirt and pants for full body coverage
Workspace Preparation
Setting up a safe work area is crucial for duct sealing. Clear the space of things you don’t need and make sure there’s good air flow before starting.
| Preparation Step | Purpose |
|---|---|
| Clear work area | Remove obstacles and create safe working space |
| Ventilation check | Ensure proper air circulation |
| Tool organization | Keep necessary equipment within reach |
Environmental Considerations
Weather and humidity play big roles in duct sealing success. The right temperature and humidity help mastic stick and dry properly, so watch these closely.
- Ideal temperature range: 50-90°F
- Recommended humidity: Below 70%
- Avoid extreme weather conditions
By taking these safety steps, you’ll make your duct sealing project safer and more effective.
How to Apply HVAC Mastic: Basic Techniques

Applying HVAC mastic right is key for sealing ducts well. You need to know the best ways to stop air leaks and boost system efficiency.
Before you start, make sure you have these tools:
- Protective gloves
- Paintbrush or specialized mastic applicator
- Clean rags
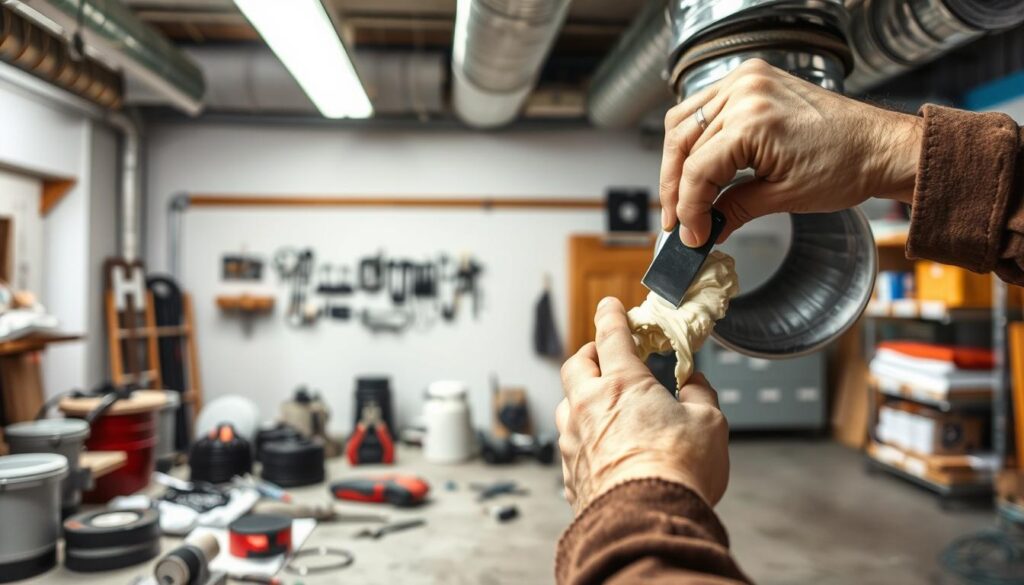
- Putty knife
First, find where air might leak from your ducts. Look at seams, joints, and connection points. Clean these spots well to help the mastic stick.
Here are the main steps for applying mastic:
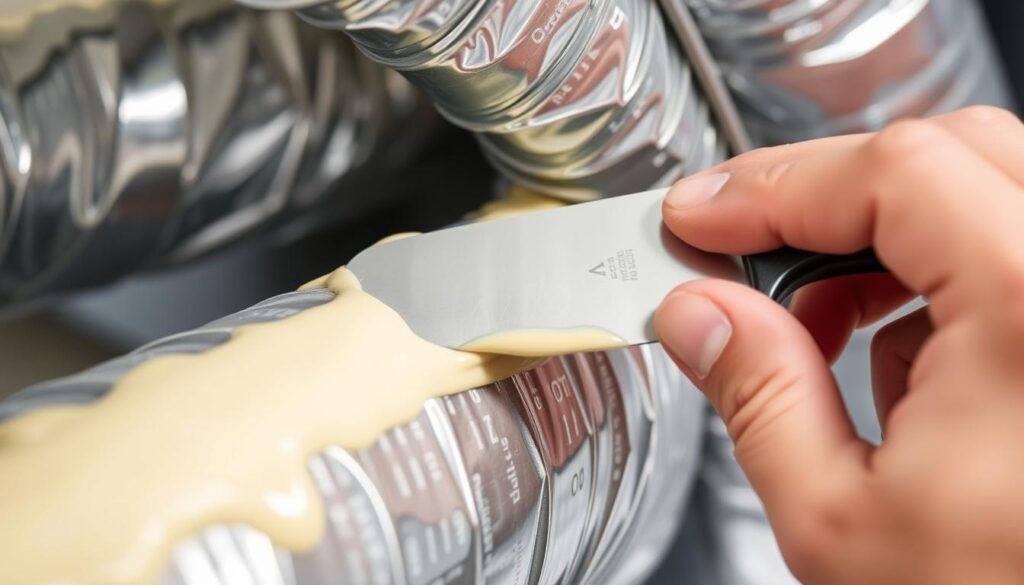
- Put a lot of mastic on your brush or applicator
- Spread a thick, even layer over the leak area
- Make the mastic go 2-3 inches beyond the leak
- Smooth it out for a solid seal
Experts say to use a smooth motion when applying mastic. Don’t make air pockets or uneven layers. They can ruin the seal.
Proper application ensures maximum energy efficiency and prevents potential air quality issues.
Different duct materials need different mastic types. Always check what the maker suggests for the best results.
Explore Our HVAC Shop
Looking for top-rated HVAC tools, parts, and accessories? Visit our shop and find the perfect solution for your needs.
Visit the ShopProper Surface Preparation and Cleaning Methods
Starting an HVAC mastic project needs careful duct surface prep. The success of your project depends on cleaning and preparing the surface right before applying mastic. This ensures strong adhesion and lasting results.
Cleaning Solutions for HVAC Surfaces
For mastic application, specific HVAC cleaning methods are needed. The right steps include:
- Use industrial-strength degreasing solvents
- Select alcohol-based cleaning solutions
- Employ lint-free cloths for wiping surfaces
- Remove all dust, grease, and contaminants
Surface Temperature Requirements
Surface temperature is key for mastic application. The best temperatures are between 50°F and 90°F. Temperatures outside this range can affect mastic adhesion and curing.
Moisture Control Guidelines
Moisture control is vital in duct surface prep. Wet or humid surfaces hinder mastic bonding. Always dry surfaces before applying mastic. Use clean, dry rags and let surfaces dry fully after cleaning.
Pro Tip: When in doubt about surface conditions, perform a small test patch to verify adhesion quality.
By following these detailed surface prep techniques, you’ll set up your HVAC mastic sealing project for success.
Application Techniques for Different Duct Types
Sealing ducts needs different methods for each material. Knowing how to handle metal, fiberglass, and flexible ducts is key. This knowledge helps seal metal ducts well and boosts HVAC performance.

Each duct type needs its own sealing method for best air system efficiency:
- Metal Duct Sealing: Needs precise application of mastic around joints and connections
- Fiberglass Duct Sealing: Needs special attention to prevent air leakage
- Flexible Duct Sealing: Demands careful handling to maintain structural integrity
For round and oval spiral ducts, focus on the male section of fittings. Apply a 2-inch band of sealant around the outside of the joint, ensuring all screws are completely covered. This method prevents air leakage and improves overall system performance.
“Proper duct sealing is the key to maintaining energy efficiency and indoor air quality.” – HVAC Professional
Rigid fiberglass ducts require a more detailed approach. Apply a 3-inch wide, 20-mil band of sealant to the joint. Next, embed a fiberglass scrim into the first layer of sealant. Complete the process by adding another 20-mil coat of sealant over the scrim, creating a robust seal that prevents air escape.
Flexible duct sealing demands extra care. Use specialized mastic designed for flexible materials, ensuring a tight seal without compromising the duct’s flexibility. Pay close attention to connection points and avoid over-tightening, which could damage the duct material.
Explore Our HVAC Shop
Looking for top-rated HVAC tools, parts, and accessories? Visit our shop and find the perfect solution for your needs.
Visit the ShopMastic Drying Time and Curing Process
Knowing how long HVAC mastic takes to dry is key for a good duct seal. The curing process is vital for a lasting seal on your ductwork.
The curing time for duct sealant depends on several factors. Most HVAC mastic needs 24 to 48 hours to dry completely. It’s important not to touch the sealed areas during this time.
Temperature Impact on Curing
Temperature greatly affects how well the mastic cures. The best conditions are:
- Room temperature between 60-75°F
- Good air circulation
- Little direct sunlight
Humidity Considerations
Humidity levels can change how long it takes for the mastic to dry. High humidity can make it take longer to dry completely.
Here are some humidity tips:
- Keep relative humidity under 70%
- Use dehumidifiers if needed
- Make sure there’s good air flow
Pro Tip: Always wait at least 48 hours before testing the sealed ducts with pressure.
Being patient during curing ensures a strong seal. This prevents air leaks later on.
Common Mistakes to Avoid When Applying Mastic
Working with HVAC mastic can be challenging. Many people, both DIY fans and pros, make mistakes that hurt their duct sealing. These errors can make your work less effective.
It’s key to know the common mistakes in HVAC mastic application. This knowledge helps you get a strong and efficient seal. Let’s look at the most common mistakes that can ruin your efforts.
- Using incorrect materials like standard duct tape instead of specialized mastic tape
- Neglecting thorough surface preparation before application
- Applying mastic too thinly or unevenly
- Ignoring hard-to-reach areas during sealing
- Skipping critical safety precautions
“A poorly sealed duct can reduce HVAC efficiency by up to 20%” – HVAC Industry Report
Your mastic application tips should always focus on the right technique and materials. Here’s a list of big mistakes to avoid:
| Mistake | Potential Consequence |
|---|---|
| Insufficient surface cleaning | Poor mastic adhesion |
| Incorrect mastic thickness | Ineffective air seal |
| Applying in extreme temperatures | Compromised curing process |
By knowing and avoiding these common mistakes, you’ll make your HVAC system work better and last longer. Paying attention to details and using the right techniques are your best friends for success.
Explore Our HVAC Shop
Looking for top-rated HVAC tools, parts, and accessories? Visit our shop and find the perfect solution for your needs.
Visit the ShopProfessional Tips for Long-lasting Results
Getting a professional-grade duct seal is more than just applying mastic. It needs precision, skill, and a smart plan. This ensures your ductwork stays tight and works well for years.
Experts start with a detailed check before sealing. They use special tools to find leaks that are hard to see. This step is key to a good seal.
- Use pressure testing to detect hidden air leaks
- Apply mastic in multiple thin layers for superior adhesion
- Reinforce large gaps with mesh or fabric tape
- Conduct periodic maintenance checks
For a lasting seal, how you do it is just as important as what you use. Pros stress the need for careful surface preparation and consistent application. They say to clean the surface well and apply mastic in the right conditions.
Your aim is a seal that keeps air in, no matter the temperature. By following these expert tips, your DIY project can become a top-notch, long-lasting fix. It will cut down on energy loss and boost your HVAC’s performance.
Conclusion
Using an HVAC mastic application guide can really change how your home uses energy. You now know how to seal ducts, which is key to an energy-efficient home. It might seem hard, but with the right methods, you can cut down on air leaks and make your HVAC system work better.
Getting ducts sealed by pros can cost between $1,000 and $2,500. But, you can do it yourself to save money. Now, you can handle small sealing jobs yourself. This can lower your energy bills and make the air in your home cleaner. Sealing ducts also saves money in the long run and makes your home more efficient.
Some people might feel they can do it all by themselves. But, if your ductwork is complex, you might need a pro. Think about your skills and how big your HVAC system is. If you’re not sure about anything, getting help from an HVAC expert is a good idea. They can make sure it’s done right and avoid any damage to your system.
Learning how to apply HVAC mastic is a big step toward a more comfortable and energy-saving home. With the right steps, careful application, and regular upkeep, you can make your home work better. And you’ll enjoy the benefits of sealed ductwork for a long time.

