Affiliate Disclosure
HVAC Guide Guys is a participant in the Amazon Services LLC Associates Program, an affiliate advertising program designed to provide a means for sites to earn advertising fees by advertising and linking to Amazon.
How to Install Ductless HVAC? Are you tired of rooms that are too hot or too cold? Do you want to save money on energy bills? A simple DIY mini split installation can change your home’s comfort and save you money.

Ductless HVAC systems are a smart choice for cooling and heating your home. They work without the need for ductwork. This makes them great for adding rooms, renovating, or updating your cooling system.
Installing a ductless HVAC system might seem hard, but it’s doable with the right help. This guide will show you how to do it yourself. You’ll learn each important step to improve your home’s comfort system with confidence.
Key Takeaways
- Ductless HVAC systems provide flexible and efficient home cooling
- DIY installation can significantly reduce professional service costs
- No ductwork required for seamless system integration
- Precise temperature control for individual rooms
- Energy-efficient alternative to traditional HVAC systems
Table of Contents
Understanding Ductless HVAC Systems and Their Benefits
Ductless HVAC systems have changed how we cool and heat our homes. They offer a flexible and efficient choice over traditional central air. These systems control temperature precisely and save energy.
Ductless cooling systems bring many benefits to today’s homes. They are compact and let you control comfort in different areas. This means you get great climate control without needing a lot of setup.
Energy Efficiency and Zoned Comfort
Getting a ductless HVAC system installed can save a lot of energy. It works in a special way to:
- Let you control the temperature in each room
- Save energy by cooling or heating only where people are
- Lower your monthly bills
Advantages of Ductless System Technology
Ductless mini-splits have many benefits over old HVAC systems:
- Flexible installation options
- Better indoor air quality
- They’re quiet
- They cause little disruption to your home
How Ductless Systems Function
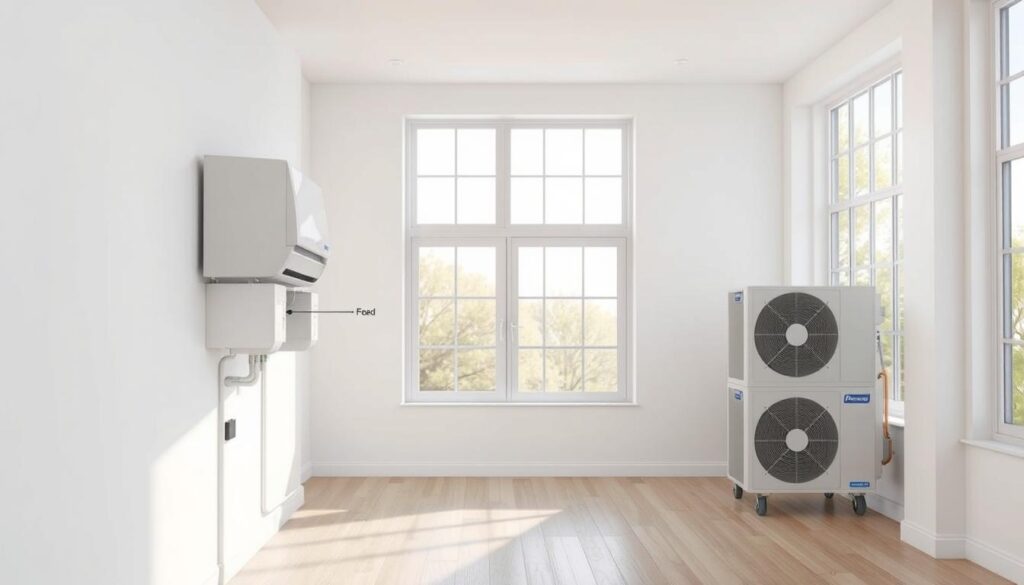
Ductless systems work in a smart way. An outdoor unit connects to indoor units through small lines. This setup means no big ductwork is needed. It lets you control the temperature in each area of your home.
Modern ductless systems are a big change in home climate control. They offer efficiency, comfort, and new technology.
Explore Our HVAC Shop
Looking for top-rated HVAC tools, parts, and accessories? Visit our shop and find the perfect solution for your needs.
Visit the ShopEssential Tools and Materials for Installation
Getting ready for a ductless ac unit installation needs careful planning. You must gather the right tools and materials before starting. This ensures your success.
For a smooth mounting ductless heat pump installation, you need professional-grade tools. These tools help you set up accurately and safely.
Required Tools for Ductless AC Unit Installation Steps
- Drill with hole saw attachment
- Comprehensive screwdriver set
- Precision torque wrench
- Professional-grade level
- Accurate tape measure
- Wire strippers and cutters
- Vacuum pump
Essential Installation Materials
| Material | Purpose |
|---|---|
| Ductless mini-split system | Primary heating and cooling unit |
| Mounting bracket | Secure indoor unit installation |
| Refrigerant line set | Connect indoor and outdoor units |
| Electrical wiring | Power connection and system operation |
| Conduit | Protective electrical cable covering |
| Line set cover | Aesthetic concealment of refrigerant lines |
Investing in quality tools and gathering all needed materials beforehand makes installation easier. It also reduces the chance of problems during the mounting process.
Pro Tip: Always verify tool compatibility with your specific mini-split system model before beginning installation.
Proper preparation is key to a successful ductless heat pump installation. Organize your workspace well and check your equipment. This ensures a smooth and efficient project.
Selecting the Right Mini-Split System Size
Choosing the right mini-split HVAC system is key. It needs careful planning and knowing your cooling needs. The size of your system affects its performance, energy use, and comfort.
When picking a mini-split, consider important factors. These ensure your system cools well and uses energy wisely. Where you place the mounting bracket is also crucial for your setup.
BTU Calculations for Accurate Room Coverage
Finding the right BTU rating is vital for cooling. Here’s a simple guide to figure out your space needs:
- 150-350 sq ft: 6,000-9,000 BTU system
- 350-550 sq ft: 10,000-12,000 BTU system
- 550-700 sq ft: 14,000-16,000 BTU system
Single-Zone vs Multi-Zone Systems
Think about your cooling needs to choose between single-zone or multi-zone systems:
- Single-Zone Systems: Great for one room or small area
- Multi-Zone Systems: Best for cooling several rooms with one outdoor unit
Location Planning Considerations
Where you place your ductless system matters a lot. Think about these points:
- Proximity to electrical outlets
- Wall space for indoor unit mounting
- Clear outdoor area for condenser unit
- Minimal obstruction for airflow
By carefully looking at your space and cooling needs, you’ll find the perfect mini-split system. It will offer great comfort and save energy.
How to Install Ductless HVAC: Indoor Unit Mounting
Mounting a ductless heat pump’s indoor unit needs careful planning. The right spot is key for the best performance and efficiency of your mini-split system.
Before you start, remember these important placement tips:
- Choose a wall with direct access to the outside
- Ensure at least 6 feet of clearance from the floor
- Avoid obstructions like furniture or light fixtures
- Select a spot with good air circulation
Start by using the mounting template that comes with your unit. Carefully mark the drill points for the mounting bracket, making sure they are level and aligned right.
Here are the main steps for installing the indoor unit:
- Hold the mounting template against the wall
- Mark drill points using a level
- Drill holes for mounting bracket
- Create a passage for refrigerant lines
- Securely attach the mounting bracket
- Verify the bracket is perfectly level
Professional tip: Use a stud finder to find wall studs for extra support. This keeps your indoor unit stable and secure for years of reliable use.
Installing the Outdoor Condenser Unit
Learning how to install ductless HVAC means paying close attention to the outdoor condenser unit. This part is key to your system’s success. It needs careful planning and the right spot.
Where you place your outdoor condenser is crucial. It affects how well your system works, how efficient it is, and how long it lasts.
Selecting the Optimal Location
Finding the best spot for your outdoor unit is important. You need to think about a few things:
- Make sure there’s enough space around the unit, 12-24 inches
- Avoid places that get a lot of sunlight or heat
- Choose a spot that’s level or can hold the unit securely
- Keep it away from busy areas and places where debris can collect
Securing the Condenser Unit
It’s important to install your unit on a solid base. You can use:
- A concrete pad for ground installations
- Wall-mounted brackets
- Roof-mounted platforms
Pro tip: Always use the mounting hardware recommended by the manufacturer for your specific ductless HVAC model.
Power Supply Connection
Connecting the power is a big step in your installation. Always get a licensed electrician to do it right and safely.
| Installation Requirement | Specification |
|---|---|
| Electrical Rating | Match manufacturer’s recommended voltage |
| Circuit Protection | Dedicated circuit with appropriate breaker |
| Wiring Type | Outdoor-rated, copper conductors |
By following these steps, you’ll get your outdoor condenser unit installed right and efficiently.
Explore Our HVAC Shop
Looking for top-rated HVAC tools, parts, and accessories? Visit our shop and find the perfect solution for your needs.
Visit the ShopLine Set Installation and Connections
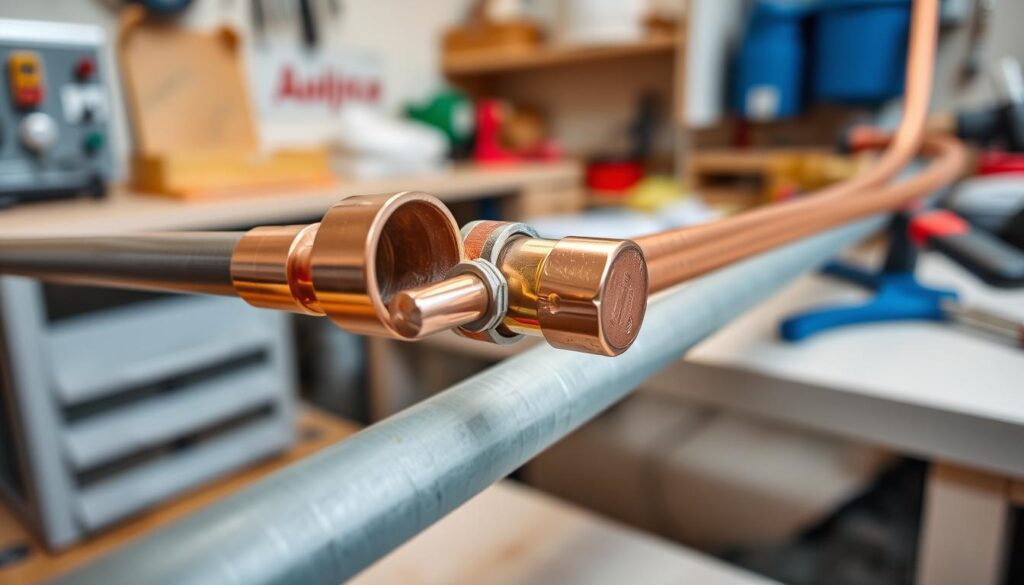
Setting up your ductless cooling system is important. The line set connects indoor and outdoor units. It’s key for your mini split hvac installation guide to work well.

- Refrigerant line cuter
- Flare nut wrench
- Tube bender
- Insulation tape
- Protective gloves
The line set connection has several steps:
- Measure the distance between indoor and outdoor units precisely
- Cut refrigerant lines with a specialized tube cuter
- Carefully bend lines without creating kinks
- Remove protective caps from connection points
- Apply flare nuts to line ends
When connecting the refrigerant lines, pay close attention to proper threading. Different connector sizes need careful alignment to prevent damage. Gentle hand threading helps avoid cross-threading and ensures a secure connection.
Insulating the line set is also key. Wrap the lines with high-quality insulation material. This protects them from temperature changes and damage.
Electrical Wiring and System Setup
Setting up the electrical parts of your ductless HVAC system needs careful work and safety. While some might try to do it themselves, the electrical work is best left to the pros. This ensures it’s done right and safely.
Safety First: Electrical Precautions
Working on the electrical for ductless HVAC systems is very important. Before you start, make sure to:
- Check local building codes and permits needed
- Make sure you know the voltage your mini-split needs
- Have the right electrical skills or get professional help
- Make sure there’s proper circuit protection
Navigating Electrical Requirements
Most mini-split systems need their own electrical circuit. The exact needs depend on the system’s size and power use. Usually, you’ll need a 120V or 240V circuit, which means working with your home’s electrical panel.
Professional Recommendations for Electrical Setup
Even if you’re handy, it’s best to let a pro handle the electrical setup. A licensed electrician can:
- Put in the right circuit breaker
- Run the right wiring
- Make sure it follows the codes
- Keep your home safe from electrical dangers
“Electrical work is not the place to cut corners or risk your home’s safety.” – HVAC Safety Expert
Protecting your investment and keeping it safe means getting a pro for the electrical part of your mini-split setup.
Explore Our HVAC Shop
Looking for top-rated HVAC tools, parts, and accessories? Visit our shop and find the perfect solution for your needs.
Visit the ShopTesting and System Configuration

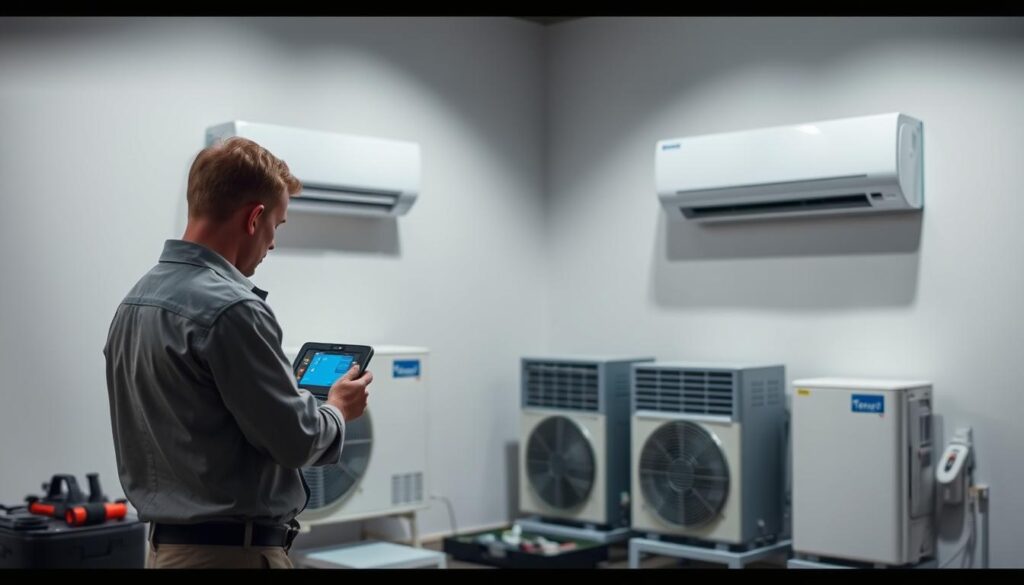
After setting up your ductless cooling system, it’s key to test it thoroughly. This ensures it works at its best. You need to check every part of your new system.
Begin by vacuum testing the refrigerant lines. This step is vital to find any leaks that could lower system efficiency. Use a vacuum pump to clear out moisture and air from the lines. This gets the system ready for refrigerant charging.
- Check refrigerant line connections for any signs of leakage
- Verify the vacuum readings meet manufacturer specifications
- Ensure all connections are tight and secure
When you first turn on your ductless HVAC system, watch how it performs. Use the remote control to test different settings. Make sure both cooling and heating work right.
| System Test Parameters | Expected Performance |
|---|---|
| Cooling Mode | Rapid temperature reduction |
| Heating Mode | Quick and consistent warmth |
| Fan Speed | Smooth transitions between settings |
If you find any problems during testing, look at the manufacturer’s troubleshooting guide. Most issues can be fixed by checking electrical connections, refrigerant levels, and making sure you installed it right.
Conclusion
Installing a ductless HVAC system can change your home’s comfort and energy use. Your DIY mini split installation needs careful planning and understanding of the system. Breaking it down into steps makes it doable for many homeowners.
When choosing between DIY and professional installation, think about your skills and tools. Some people can handle the whole project, while others might need help with tricky parts like electrical connections.
Your new ductless mini-split system is an investment in comfort and saving energy. Regular maintenance, like annual checks and filter cleaning, keeps it running well. Even if you install it yourself, getting advice from an HVAC pro can give you confidence.
This guide has given you the knowledge to make your home more comfortable and efficient. Your effort to learn about ductless HVAC will pay off in better climate control and lower energy costs.

