Affiliate Disclosure
HVAC Guide Guys is a participant in the Amazon Services LLC Associates Program, an affiliate advertising program designed to provide a means for sites to earn advertising fees by advertising and linking to Amazon.
What if the most critical step for your air conditioning unit’s health is one many people rush or skip entirely? This single procedure can be the difference between a reliable system and a costly breakdown.

A vacuum gauge is your essential diagnostic tool. It measures the pressure difference between the outside air and the inside of your conditioning system. This reading helps you spot potential problems before they cause major damage.
Properly connecting this instrument is vital. It ensures the complete removal of air and moisture from the lines. Without a thorough evacuation, leftover contaminants can freeze, causing blockages. They can also corrode internal parts or mix with refrigerant to form harmful acids.
Mastering this process protects your investment. It directly boosts your system’s efficiency and extends its lifespan. Understanding how HVAC gauges work is the first step toward professional-grade maintenance. This guide will walk you through the correct connection procedure.
Key Takeaways
- A vacuum gauge is a crucial diagnostic tool for measuring pressure inside your air conditioning system.
- Correctly connecting the gauge is fundamental for identifying potential issues early.
- Proper evacuation removes harmful moisture and non-condensable gases from the unit.
- Skipping this step can lead to component corrosion, ice blockages, and acid formation.
- Following the correct procedure ensures maximum system efficiency and longevity.
- This process is a best practice for protecting your equipment investment.
Table of Contents
Understanding the Role of Vacuum Gauges in HVAC Systems
When your system’s pressure drops to microscopic levels, the real diagnostic work begins. Micron readings become your most valuable tool for assessing evacuation quality.
Why Micron Readings Matter
Achieving 500 microns or lower is essential for proper moisture removal. At this pressure level, water boils at -12°F, ensuring complete elimination from your system.
The difference between 500 and 1,000 microns is significant. At 1,000 microns, water boils at just 1°F. This higher temperature leaves moisture behind, risking future problems.
This precision matters because trapped water can freeze and cause blockages. It can also mix with refrigerant to form harmful acids.
Diagnosing Pressure Fluctuations and Leaks
Pressure fluctuations are normal during evacuation. Even minor disturbances can cause temporary spikes in readings.
Watch for specific patterns. A rapid, continuous micron rise indicates a leak. If pressure increases quickly and never stops, you likely have a system leak.
A slow rise that plateaus above 1,000 microns signals remaining moisture. This pattern means water is still boiling off from components.
Understanding these readings helps you decide when to continue evacuation or check for leaks. Proper interpretation ensures your system is truly ready for refrigerant.
Explore Our HVAC Shop
Looking for top-rated HVAC tools, parts, and accessories? Visit our shop and find the perfect solution for your needs.
Visit the Shophow to hook up a vacuum gauge hvac: Tools and Proper Setup
Professional results begin with choosing the proper tools for connecting your diagnostic equipment. The right gear ensures accurate readings and efficient moisture removal.

Selecting the Right Equipment
Your manifold gauge set should feature three or four hoses with minimal connection loss. Vacuum-rated hoses have larger diameters than standard charging hoses.
This extra space facilitates better airflow for faster evacuation. Always choose short, large-diameter hoses over long, thin taper vacuum hoses.
| Hose Type | Diameter | Evacuation Speed | Best Use |
|---|---|---|---|
| Vacuum-Rated | Large | Fast | Professional evacuation |
| Standard Charging | Small | Slow | Basic refrigerant work |
| Taper Vacuum | Variable | Moderate | Limited space applications |
Effective Connection and Placement Strategies
Position your diagnostic equipment as far back on the system as possible. This location reaches target microns last due to restrictions.
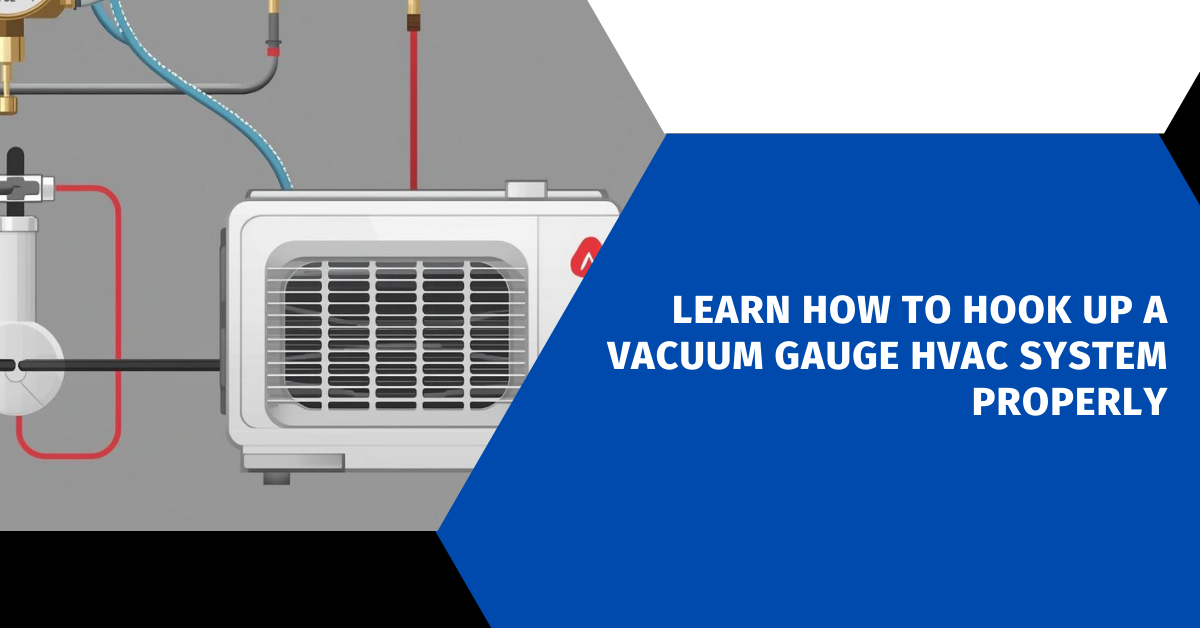
Connect the blue hose to the low pressure service port. Use the red hose for the high pressure service port. The yellow or black hose connects to your vacuum pump.
Remove valve cores from service ports during evacuation. Each core creates restriction that significantly increases evacuation time. Use a core removal tool with built-in ports for optimal connection.
Explore Our HVAC Shop
Looking for top-rated HVAC tools, parts, and accessories? Visit our shop and find the perfect solution for your needs.
Visit the ShopMastering the Vacuum Pump Setup Process
Your equipment’s performance directly impacts the success of your system evacuation. Proper preparation ensures accurate readings and efficient moisture removal from your air conditioning unit.

Preparing and Inspecting Your Gear
Begin by checking your vacuum pump oil level and quality. Milky or dark oil indicates moisture contamination that severely degrades performance. Replace contaminated oil before starting any work.
Inspect all hoses and connections for damage. Ensure gaskets are clean and intact. For optimal results, use a high-quality oil-sealed rotary vane pump drawing at least 5 CFM.
Step-by-Step Process of Pulling a Deep Vacuum
Connect the blue hose to the low-pressure service port and the red hose to the high-pressure port. Attach the yellow or black hose to your pump suction. Remove Schrader valve cores using a core removal tool to dramatically speed up evacuation.
Start the pump and open both manifold valves. Monitor the pressure drop until you reach below 500 microns. Aim for 250-350 microns for deep evacuation. This comprehensive vacuum pump setup process ensures thorough moisture removal.
Understanding Gauge Readings and System Equilibrium
After reaching target microns, perform a decay test. Isolate the system for 10-15 minutes by closing manifold valves. Watch for pressure changes that indicate problems.
A rapid continuous rise suggests a leak requiring repair. A slow increase plateauing above 1,000 microns signals remaining moisture. Proper interpretation ensures your system is truly ready for refrigerant.
Always change pump oil after each use and store equipment properly. Regular maintenance keeps your tools performing reliably for future jobs.
Conclusion
Mastering evacuation techniques transforms routine maintenance into system protection that pays dividends for years. Your dedication to proper procedures ensures every air conditioning unit operates at peak performance.
Quality tools and methodical processes deliver reliable results. Investing in proper equipment prevents common failures caused by moisture and contaminants. Each careful step protects your customer’s investment.
View this process as essential preventive care rather than a time-consuming task. Proper technique eliminates moisture-related corrosion and refrigerant contamination. Your patience during evacuation prevents future service calls.
Consistent application of these methods builds professional reputation through superior system reliability. This skill distinguishes exceptional service in the HVAC field.