Affiliate Disclosure
HVAC Guide Guys is a participant in the Amazon Services LLC Associates Program, an affiliate advertising program designed to provide a means for sites to earn advertising fees by advertising and linking to Amazon.
How to Install UV Light in HVAC System? Are you breathing air that could be silently harboring dangerous microorganisms? Installing UV light in your HVAC system might be the solution you never knew you needed. It can transform your indoor air quality and make your home healthier.

UV light installation in air ducts is a cutting-edge way to get rid of harmful bacteria, mold, and other tiny threats in your home’s air. This technology offers more protection than traditional air filters, keeping you and your family safe.
Experts in HVAC have known about ultraviolet light’s power for a long time. It can greatly lower the chance of breathing problems and make the air better to breathe.
Key Takeaways
- UV light technology effectively eliminates harmful microorganisms in HVAC systems
- Installation can improve indoor air quality and reduce health risks
- Professional guidance is recommended for proper UV light placement
- Regular maintenance ensures optimal UV light system performance
- UV light installation is a proactive approach to home health protection
Table of Contents
Understanding HVAC UV Light Systems and Their Purpose
UV light technology has changed how we manage indoor air quality in HVAC systems. It offers a strong way to clean the air and lower health risks in homes and businesses.
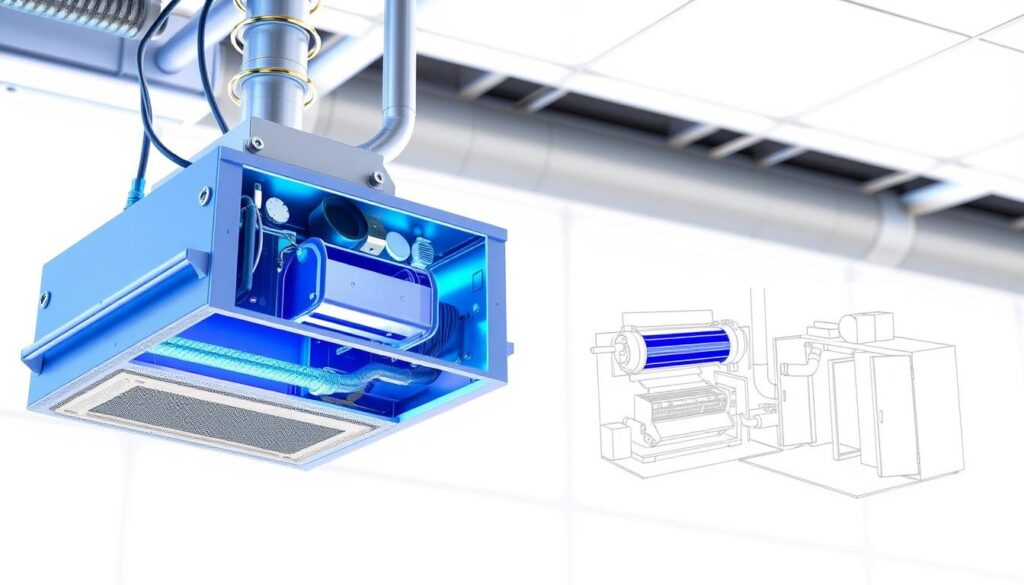
Today’s HVAC UV light systems target harmful germs in your heating and cooling systems. They use special ultraviolet light to kill health threats.
Types of UV Lights for HVAC Systems
- Coil Sterilization UV Lights
- Air Purification UV Lights
- Ductwork Mounted UV Systems
How UV Light Kills Bacteria and Mold
Where you place the UV light is key for it to work best. The ultraviolet rays go through the germs’ cell walls. They destroy their DNA and stop them from growing. This way, they get rid of:
- Mold spores
- Bacterial colonies
- Viral particles
Benefits of UV Light Installation
| Benefit | Impact |
|---|---|
| Improved Air Quality | Reduces airborne contaminants by up to 99% |
| Energy Efficiency | Keeps HVAC system clean, reducing energy consumption |
| Health Protection | Minimizes respiratory risk from microbial growth |
Learning about UV light systems helps you protect your indoor space. It keeps your living area healthy and clean.
Explore Our HVAC Shop
Looking for top-rated HVAC tools, parts, and accessories? Visit our shop and find the perfect solution for your needs.
Visit the ShopEssential Safety Precautions Before Installation
Setting up a DIY UV air purification system means safety first. You need to be careful and follow all safety rules. This is because of the electrical and UV radiation risks.
Before starting your DIY UV air purification system installation, remember these important steps:
- Completely disconnect power to the HVAC system
- Wear protective personal equipment
- Use safety glasses with UV protection
- Wear long-sleeve clothing and gloves
UV light can harm your skin and eyes if not handled right. Direct exposure can lead to burns, skin damage, and potential eye injury. You need professional-grade protective gear for your furnace UV light setup.
| Safety Equipment | Purpose |
|---|---|
| UV-blocking safety glasses | Prevent eye damage from UV radiation |
| Thick rubber gloves | Prevent direct skin contact with UV lamps |
| Long-sleeve protective clothing | Shield skin from potential UV exposure |
Remember, installing UV lamps needs careful attention. Work slowly, follow the manufacturer’s instructions, and never rush. Your safety is the most important thing when working with electrical or UV light equipment.
Required Tools and Materials for UV Light Installation
Getting ready for an air handler uv light installation needs careful planning. You must gather the right tools before starting. A good toolkit ensures a smooth and effective installation.
Essential Tool Checklist
Your toolkit should have several key items for an efficient installation:
- Power drill with variable speed settings
- Phillips head screwdriver
- Duct tape
- Protective safety glasses
- Work gloves
- Measuring tape
- Wire strippers
UV Light Kit Components
Most UV sanitizing lights for AC systems come with special parts for easy installation:
- UV lamp unit
- Mounting bracket
- Electrical connection wires
- Installation manual
- Safety warning labels
Additional Materials to Consider
You might need extra materials for your air handler uv light installation:
- Electrical wire nuts
- Electrical tape
- Cable ties
- Specialized drill bits for ductwork
Pro Tip: Always check that you have all the tools and materials before starting. This prevents unnecessary delays.
Explore Our HVAC Shop
Looking for top-rated HVAC tools, parts, and accessories? Visit our shop and find the perfect solution for your needs.
Visit the ShopDetermining the Optimal UV Light Placement
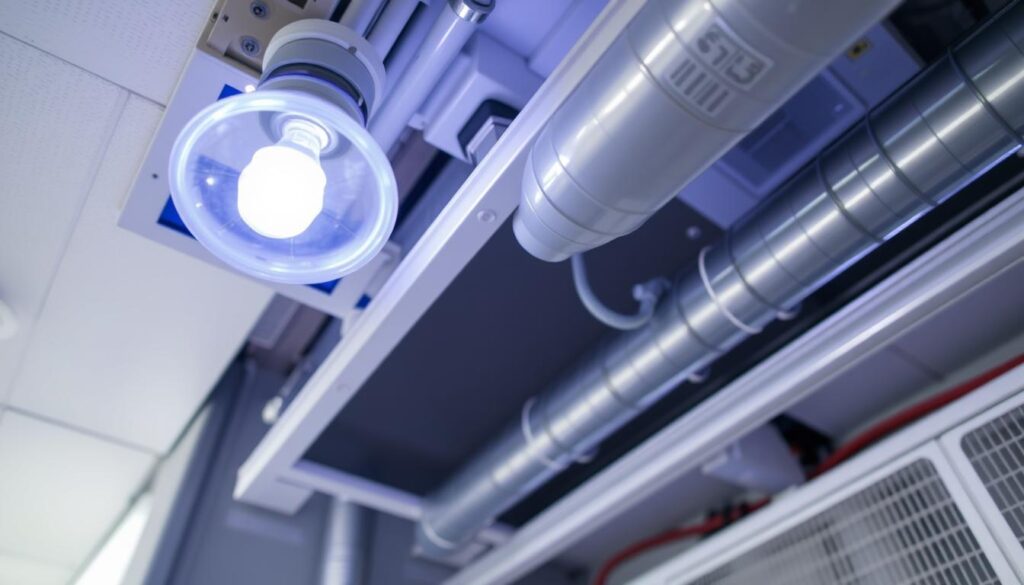
Choosing the right spot for your HVAC ultraviolet light is key. It helps your system kill germs better. The layout of your HVAC system guides where to put the UV light for best results.
For ductwork uv disinfection, look at areas with lots of moisture and germs. The best spots are usually specific zones in your HVAC system.
- Near the evaporator coil
- Areas with consistent moisture exposure
- Locations with maximum air circulation
Different coil types need different UV light setups:
| Coil Type | Recommended UV Light Placement |
|---|---|
| A-Shaped Coils | Above, center, and downstream of coil |
| N-Shaped Coils | Above or below the coil |
Try to get the UV light to hit as much area as possible. This way, it can kill off bad germs better. Also, reflective surfaces near the UV light can help spread the light further.
Pro tip: Always check your HVAC system’s layout before placing UV lights. This ensures they work their best.
How to Install UV Light in HVAC
Adding a UV light to your HVAC system boosts air quality and fights off harmful germs. It’s a detailed process that needs careful planning and execution for the best results and safety.
Before you start installing UV lights in your air ducts, there are important things to think about. These steps will help you set it up right.
Power Supply Requirements
Choosing the right power source is key for installing UV lights in HVAC systems. Most UV lights need:
- 120V electrical outlet
- Direct hardwiring into furnace circuit
- Dedicated electrical connection
Mounting Bracket Installation
Mounting the UV light correctly is essential for it to work well in your HVAC system. Here’s what to do:
- Find a good spot in the ductwork to mount it
- Clean the area where you’ll install it well
- Mark where you’ll drill for screws
- Use the hardware to secure the bracket
Lamp Connection Steps
Connecting your UV lamp needs careful attention:
| Step | Action |
|---|---|
| 1 | Turn off HVAC system power |
| 2 | Insert UV lamp into mounting bracket |
| 3 | Connect electrical connections |
| 4 | Verify secure placement |
“Precision during UV light installation prevents future operational issues.”
Safety tip: Always follow manufacturer instructions and consider professional assistance if you’re uncertain about electrical connections.
Explore Our HVAC Shop
Looking for top-rated HVAC tools, parts, and accessories? Visit our shop and find the perfect solution for your needs.
Visit the ShopProper Wiring and Electrical Connections

Setting up your furnace uv light involves electrical connections that are key for safe and efficient use. The placement of your HVAC UV light is crucial for its performance and integration with your system.
There are two main ways to wire your UV lights:
- Synchronized operation with HVAC system
- Continuous electrical power mode
For synchronized operation, connect the UV light to your HVAC system’s circuit. This way, the UV light turns on only when your system is running. It helps save energy.
“Proper electrical connections are the backbone of an effective UV light installation”
When setting up your hvac uv light placement electrical setup, keep these points in mind:
- Check if the voltage is compatible
- Use the right wire gauges
- Install dedicated circuit breakers
- Follow local electrical codes
Always prioritize safety during installation. If you’re unsure about electrical connections, get help from a licensed HVAC professional. This can prevent damage to your system or harm to yourself.
Correct wiring ensures your UV light system works well. It keeps the air clean and protects your system.
Installing UV Warning Labels and Safety Viewport
When you install uv sanitizing lights for ac systems, safety is key. You need to label and add safety features to avoid accidental UV light exposure. This is important during hvac ultraviolet light positioning and maintenance.
UV light systems need special safety steps for safe use and protection. Here’s how to make your installation safe.
Safety Label Placement Guidelines
It’s vital to place warning labels right to avoid UV exposure. Follow these key tips:
- Put warning labels on the outside of ductwork near UV lamps.
- Choose high-visibility, weather-resistant labels.
- Make sure labels are easy to read from different angles.
- Include clear warnings about ultraviolet radiation.
Safety Viewing Port Installation
A safety viewing port lets you check your UV system safely. Here’s how to install it right:
- Choose a clear, impact-resistant viewing window.
- Put the port next to the UV lamp.
- Make sure the window lets you see clearly without blocks.
- Seal the port well to keep the system safe.
| Safety Component | Purpose | Installation Requirement |
|---|---|---|
| Warning Labels | Prevent Accidental Exposure | Visible, Durable Placement |
| Viewing Port | System Inspection | Clear, Sealed Window |
Remember: Always put safety first when working with UV sanitizing lights in HVAC systems. Keep yourself safe and follow the manufacturer’s instructions.
Explore Our HVAC Shop
Looking for top-rated HVAC tools, parts, and accessories? Visit our shop and find the perfect solution for your needs.
Visit the ShopTesting and Verifying UV Light Operation
After you’ve set up your diy uv air purification system, it’s important to test it well. This ensures your ultraviolet germicidal irradiation for hvac works right. It also makes sure your air stays clean and safe.
First, check the safety viewing port. This part lets you see if the UV lamp is working without danger. Look for these signs:
- Consistent blue or purple glow from the UV lamp
- LED operational status lights
- No visible damage to the lamp or mounting bracket
Modern UV light systems have built-in checks. Watch for any lights that show it’s working or if there’s a problem. If your system doesn’t have lights, use a UV light meter for accurate checks.
“Verification is not just about functionality, but ensuring your home’s air remains clean and safe.” – HVAC Safety Expert
Important steps for testing include:
- Visual inspection through safety viewpoint
- Checking electrical connections
- Confirming lamp illumination
- Verifying consistent power supply
If you find any problems, look in your manual or call the maker’s tech support. They can help you out.
Maintenance Requirements for UV Light Systems
Keeping your air handler UV light system in good shape is key. It makes sure your ductwork UV disinfection system works well for a long time. Regular upkeep keeps your UV light tech working great and keeps your HVAC system’s air clean.

Your UV light system needs regular care to work its best. Here are important steps to keep it running smoothly:
- Inspect UV lamps every 6-12 months for signs of wear
- Clean lamp surfaces with alcohol-based cleaners
- Check electrical connections for any loose wiring
- Verify proper lamp positioning in the air handler
“Proactive maintenance is the key to long-lasting UV light performance in HVAC systems.”
Replacing UV lamps is a big part of keeping your system in top shape. Most UV lamps need to be replaced every 12-24 months. Look out for these signs it’s time for a new one:
| Maintenance Task | Frequency | Purpose |
|---|---|---|
| Visual Inspection | Every 6 months | Check lamp integrity and positioning |
| Lamp Cleaning | Annually | Remove dust and debris |
| Lamp Replacement | 12-24 months | Maintain UV germicidal effectiveness |
Always be safe when you’re working on your ductwork UV disinfection system. Wear protective eyewear and gloves. Make sure to turn off power before you start any maintenance. Taking good care of your UV light system means it will keep your air clean and fresh.
Explore Our HVAC Shop
Looking for top-rated HVAC tools, parts, and accessories? Visit our shop and find the perfect solution for your needs.
Visit the ShopCommon Installation Mistakes to Avoid
Installing a UV light in your HVAC system can be tricky. Even experienced DIY enthusiasts can make critical errors during the furnace UV light setup. These mistakes could potentially damage your system or reduce its effectiveness.
Knowing the most common pitfalls can help you navigate the installation process more safely and successfully. This is especially true when learning how to install UV light in HVAC systems.
Wiring Errors to Prevent
- Failing to disconnect power before installation
- Incorrect voltage connections
- Using incompatible electrical components
- Improper grounding of electrical systems
Critical Placement Issues
Proper positioning of your UV light is crucial for maximum effectiveness. Many homeowners make mistakes that can significantly reduce the lamp’s ability to eliminate microorganisms.
- Installing UV light too far from the coil
- Blocking UV light’s direct path to target areas
- Choosing incorrect lamp angle
- Neglecting to clean surfaces before installation
Safety Oversights to Watch For
Safety should always be your top priority during a UV light installation. Overlooking protective measures can lead to personal injury or system damage.
- Skipping protective eyewear
- Not using electrical safety gloves
- Failing to install warning labels
- Ignoring manufacturer’s specific safety guidelines
By understanding and avoiding these common mistakes, you can ensure a safe and effective UV light installation in your HVAC system.
UV Lamp Replacement Guidelines
Keeping your uv light installation in air ducts working well means replacing lamps regularly. This ensures your uv sanitizing lights for ac systems work best. It also keeps your HVAC system efficient and kills harmful germs.
It’s important to know when to replace your UV lamps. This helps keep the air clean and your system running well. Most UV lamps should be replaced every 12-24 months. This depends on how often you use them and what the maker says.
- Check lamp performance annually
- Watch for reduced germicidal effectiveness
- Inspect for physical damage or discoloration
When picking new lamps, think about these important points:
| Lamp Characteristic | Recommended Specification |
|---|---|
| Wavelength | 254 nanometers (optimal germicidal range) |
| Wattage | Match original system specifications |
| Compatibility | Verify manufacturer’s recommended models |
Before you replace your UV lamp, remember these safety steps:
- Turn off power to the HVAC system
- Wear protective gloves
- Carefully remove the old lamp
- Dispose of used lamps properly (contains mercury)
Pro tip: Keep a maintenance log to track replacement dates and system performance for your uv light installation in air ducts.
Conclusion
Adding ultraviolet germicidal irradiation to your HVAC system is a smart move. It boosts your home’s air quality and system performance. Knowing how to place the UV light is key to fighting off harmful germs and making your home healthier.
Setting up UV light technology needs careful planning and technical know-how. You must pick the right UV light, follow safety rules, and make sure it’s mounted and wired correctly. These steps are vital for getting the most out of your UV light system.
UV light technology does more than just clean the air. It also keeps your HVAC system free from germs, which can make it last longer and work better. Keeping up with maintenance and replacing UV light bulbs regularly will keep your system running well. This means you’ll always have clean, healthy air inside.
By using UV light technology, you’re making your home safer and more comfortable. It’s a smart choice for your HVAC system and your health. So, breathe easy knowing you’ve made a great decision for your home.

