Affiliate Disclosure
HVAC Guide Guys is a participant in the Amazon Services LLC Associates Program, an affiliate advertising program designed to provide a means for sites to earn advertising fees by advertising and linking to Amazon.
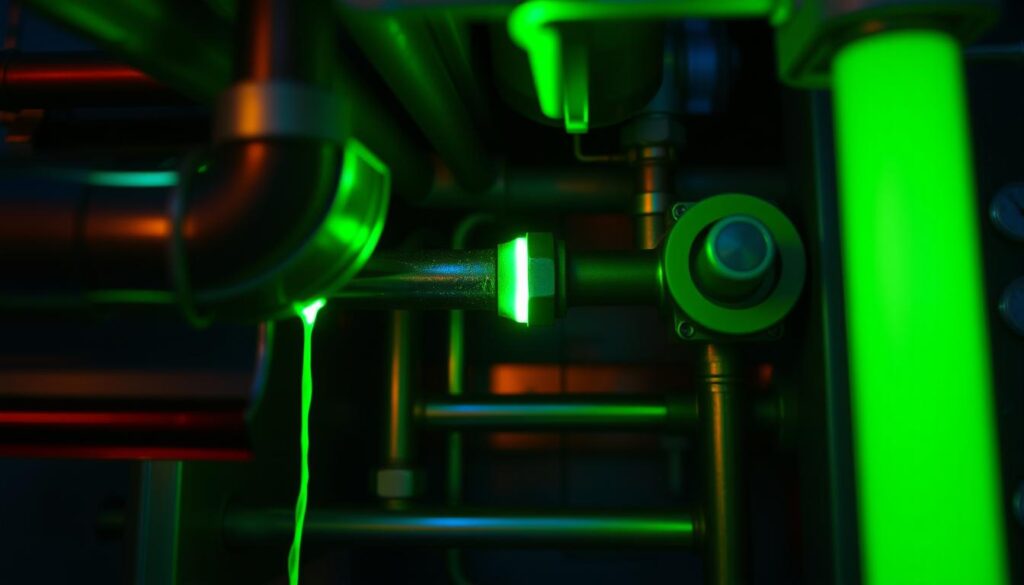
How to Add Dye to HVAC System? Ever wondered how pros find invisible leaks in air conditioners? They use UV dye detection for HVAC systems.

Finding HVAC leaks is tough, but the right dye can make it easy. This guide will show you how to use dye to find and fix leaks fast.
UV dye detection is a big deal in HVAC care. Over 95% of pros use it. It’s accurate and easy to use, and everyone should know about it.
Key Takeaways
- UV dye detection provides precise leak identification in HVAC systems
- Professional technicians widely use dye detection methods
- Proper dye application requires specific tools and techniques
- Leak detection helps maintain system efficiency and reduce environmental impact
- Understanding the process can save significant repair costs
Table of Contents
Understanding HVAC Leak Detection Methods
HVAC systems need precise refrigerant management to work well. Finding leaks fast and right is key to keeping systems running smoothly and avoiding expensive fixes. New technologies help find even the tiniest refrigerant leaks.
Today’s HVAC leak detection methods use different ways to spot refrigerant problems. Knowing these methods can help you pick the best one for your needs.
Innovative Leak Detection Technologies
- Electronic Leak Detectors
- Bubble Solution Tests
- UV HVAC Refrigerant Dye Detection
- Ultrasonic Leak Detectors
Advantages of UV Dye Detection
HVAC leak detection dye is very good at finding refrigerant leaks. It’s great for several reasons:
- Microscopic Leak Detection: Finds leaks as small as 0.1 oz per year
- Cost-effective way to diagnose
- Doesn’t hurt the system
- Shows where leaks are
When to Select Dye Detection
Use HVAC refrigerant dye detection when you need:
- To find leaks exactly
- To check the whole system
- To not mess with the system too much
- A cheap way to find problems
Experts say UV dye detection is reliable and accurate. It’s great for finding hard-to-find refrigerant leaks.
Explore Our HVAC Shop
Looking for top-rated HVAC tools, parts, and accessories? Visit our shop and find the perfect solution for your needs.
Visit the ShopEssential Safety Precautions Before Adding Dye
Safety is key when you’re working on hvac system dye installation. Your safety and the safety of your equipment are top priorities. Professional technicians know how important it is to follow strict safety rules to avoid risks.
Before starting your dye detection, you need to get ready with the right protective gear:
- UV-blocking safety glasses to protect your eyes from radiation
- Chemical-resistant gloves
- Long-sleeve protective clothing
- Respiratory mask for chemical protection
When you’re working with refrigerant systems, there are a few important safety things to remember:
- Make sure your workspace has good ventilation
- Work in a well-lit area with no big obstacles
- Have a fire extinguisher nearby
- Follow EPA rules for handling refrigerant
Warning: Always handle HVAC systems with extreme caution. If you’re not sure about any part of the dye installation process, consider getting professional help.
Professional technicians say it’s best to get comprehensive training before trying complex HVAC diagnostic procedures.
Required Tools and Materials for HVAC Dye Installation
Getting ready for HVAC maintenance dye needs careful planning and the right tools. Professional technicians know that using precise tools and safety gear is key before starting.
Your HVAC dye installation toolkit should have a few important things. These ensure accurate leak detection and keep you safe.
UV Dye Selection Guide
Choosing the right UV dye is very important for system diagnosis. Think about these factors:
- Compatibility with specific refrigerant types
- Manufacturer recommendations
- System age and configuration
- Concentration requirements
You’ll need about 1/4 oz (7.4 ml) of dye per pound of refrigerant in your system.
Necessary Safety Equipment
Keep yourself safe during the HVAC maintenance dye process with these items:
- UV-blocking safety glasses
- Chemical-resistant gloves
- Protective long-sleeve clothing
- Respiratory mask
Professional Tools Checklist
Make sure you have these professional-grade tools for accurate hvac troubleshooting dye detection:
- High-intensity UV lamp
- Dye injection kit
- Refrigerant manifold gauges
- Leak detection glasses
- Refrigerant recovery machine
Proper preparation with the right tools makes your HVAC leak detection process smoother. It also improves diagnostic accuracy.
Explore Our HVAC Shop
Looking for top-rated HVAC tools, parts, and accessories? Visit our shop and find the perfect solution for your needs.
Visit the ShopHow to Add Dye to HVAC System
Adding dye to your HVAC system is a key step in finding refrigerant leaks. The process needs precision and attention to detail. Before starting, make sure you have all the tools and your system is ready for dye injection.
To add dye to your HVAC system, follow these steps:
- Check the system’s refrigerant levels
- Pick the right UV dye for your HVAC system
- Find the low-side service port
- Get your dye injector tool ready
To add dye, connect the dye injector to the low-side service port. Precision is critical here. Use the correct adapter and keep the connection clean to avoid contamination.
Experts say to add the dye slowly and carefully for even distribution.
Measure the dye based on your system’s refrigerant capacity. Most dye kits come with exact measurements. After adding the dye, run the system for 15-20 minutes to spread the dye through all parts.
- Wear protective eyewear during application
- Work in a well-ventilated area
- Follow the manufacturer’s guidelines
Remember, proper application is crucial for leak detection. Take your time, follow each step carefully, and get ready for the UV light inspection to find any leaks.
System Preparation and Initial Inspection
Getting your HVAC system ready for diagnostic dye leak detection is key. A detailed initial inspection is vital for accurate results and to avoid problems.
Your HVAC system needs to be in top shape before using diagnostic dye. This involves several important steps to make your leak detection work better.
Visual Inspection Essentials
Do a detailed visual check of your HVAC system. Look closely at areas that are more likely to leak:
- Check refrigerant lines for visible damage
- Inspect connection points and joints
- Look for signs of corrosion or wear
- Examine compressor and condenser components
System Pressure Testing
Pressure testing is a must to find potential leak spots before using hvac diagnostic dye. It checks the system’s integrity and finds areas of concern.
- Connect pressure gauges to system ports
- Measure system pressure at different operational stages
- Compare readings against manufacturer specifications
- Document any significant pressure variations
Clearing Previous Dye Residue
If your system has used leak detection dye before, make sure it’s all gone. Residual dye can mess up new diagnostic tests, causing wrong results.
Pro tip: If the system is empty, fill it with the right refrigerant before adding new dye. This gives you a clean start for accurate leak detection.
Explore Our HVAC Shop
Looking for top-rated HVAC tools, parts, and accessories? Visit our shop and find the perfect solution for your needs.
Visit the ShopProper Dye Application Techniques

Applying dye to your HVAC system needs care and precision. Before you start, make sure you know the right steps. This ensures you find leaks and keep your system working well.
Before you begin, take these important steps:
- Check the system’s refrigerant level
- Look for any dye already in the system
- Check for any parts that might get contaminated
Getting the dye-to-refrigerant ratio right is key. Too little dye can miss leaks, and too much can mess with how the system works.
| Dye Type | Recommended Quantity | Application Method |
|---|---|---|
| Standard UV Dye | 1/2 oz per pound of refrigerant | Precision injector tool |
| Concentrated Dye | 1/4 oz per pound of refrigerant | Calibrated injection system |
Experts say to use special dye injector tools for clean and accurate application. These tools stop contamination and spread dye evenly in the refrigerant circuit.
Always follow the manufacturer’s instructions and wear the right protective gear when applying HVAC dye.
Running and Circulating the Dye
After adding hvac leak detection dye, it’s key to circulate it well. This step is vital for spotting leaks. Next, run your HVAC system to spread the dye evenly across all parts.
Getting the dye to move right is crucial. You want it to cover all areas of your cooling system. This way, it can show where leaks might be hiding.
Optimal Running Time Strategies
For the best leak detection, follow these time guidelines:
- Residential systems: Run for 15-20 minutes
- Commercial HVAC systems: Operate for 25-30 minutes
- Large industrial units: Extend circulation to 45 minutes
System Operation Parameters
Keep your system running smoothly by following these steps:
- Set thermostat to standard cooling mode
- Ensure consistent temperature settings
- Maintain moderate fan speed
- Avoid extreme temperature fluctuations
Watch closely during this time. It ensures the dye spreads well. This makes it easier to find leaks with UV light inspections later.
Explore Our HVAC Shop
Looking for top-rated HVAC tools, parts, and accessories? Visit our shop and find the perfect solution for your needs.
Visit the ShopUV Light Inspection Process
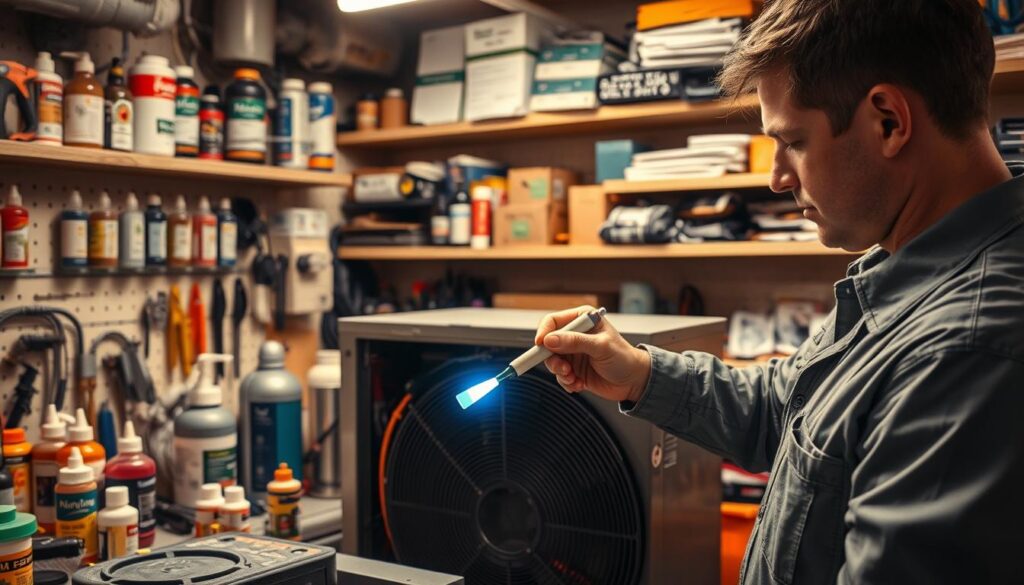
After using hvac diagnostic dye on your system, a detailed UV light check is key to find leaks. The right method can uncover hidden problems that might be missed.
- Darken the area for inspection
- Use a high-quality UV lamp
- Place the lamp 6-18 inches from parts
- Move slowly and cover all surfaces
When checking your HVAC system, focus on:
- Refrigerant lines
- Compressor connections
- Evaporator coils
- Condenser unit joints
“A careful, methodical approach is key to identifying even the smallest leaks in your HVAC system.”
Different fluorescent patterns show different leak types. Bright, concentrated spots usually mean big leaks. Thin, faint lines might show small leaks. Always wear protective glasses to see better and keep your eyes safe.
Experts say to spend 15-20 minutes on a thorough UV light check. This helps make sure no leak is missed.
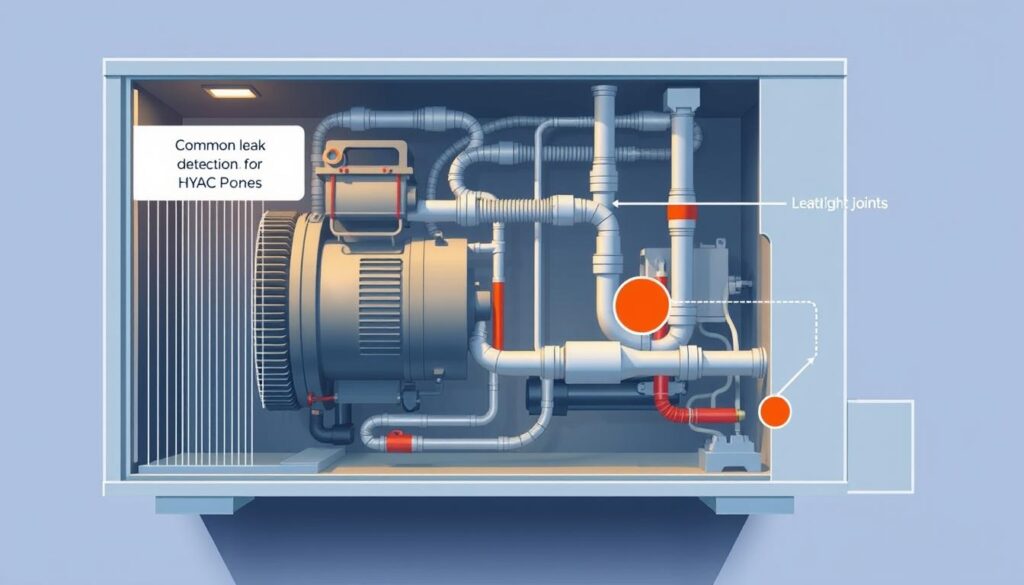
Common Leak Points and Detection Areas
Knowing where leaks can happen in your HVAC system is key. Using HVAC repair dye can help find these spots easily. Your system has parts that are more likely to leak, and checking them is important to keep your system running well.

When you use hvac maintenance dye, focus on these areas that often leak:
- Compressor seals and connections
- Service valve joints
- Flare and brazing connections
- Evaporator and condenser coil interfaces
Hidden Leak Locations to Investigate
Some leaks are hard to see and need a close look. Check these often-missed spots:
- Beneath insulation layers
- Internal pipe connections
- Hard-to-reach system corners
- Areas with significant dirt or discoloration
Experts say to really look at these spots when checking for leaks. Dirt or color changes can mean oil leaks from refrigerant lines. These are key areas to check with hvac repair dye.
Detecting leaks early can save you significant repair costs and prevent system inefficiencies.
Explore Our HVAC Shop
Looking for top-rated HVAC tools, parts, and accessories? Visit our shop and find the perfect solution for your needs.
Visit the ShopPost-Detection Cleaning and Maintenance
After you finish your HVAC dye inspection, cleaning up is key. It keeps your equipment in good shape and helps find leaks better next time. Taking care of your tools after use is important.
Begin by cleaning all parts that touched the UV dye. Here’s how to do it right:
- Wear protective gloves during the entire cleaning process
- Use specialized HVAC system dye installation cleaning solutions
- Carefully wipe down all tools and equipment
- Remove any visible dye residue from surfaces
Pro tip: Always document the locations of detected leaks before cleaning. This documentation will help you track potential recurring issues and plan future maintenance.
Storing your HVAC troubleshooting dye kit right is also crucial. Keep your UV lamp and dye in a good spot:
- Choose a cool, dry location
- Keep away from direct sunlight
- Seal containers tightly
- Store in a dedicated toolbox or storage case
“Meticulous cleaning and storage extend the life of your diagnostic tools and ensure reliable performance in future inspections.”
By following these steps, you’ll keep your equipment in top shape. This ensures it works well for your next HVAC system check.
Troubleshooting and Best Practices
Finding leaks in your HVAC system with hvac diagnostic dye can be tricky. Experts say it takes patience, careful watching, and a smart plan to succeed.
Working with hvac repair dye, you might face some common problems. These need special ways to solve them:
- Insufficient dye circulation in the system
- Weak UV light inspection conditions
- Masked or hidden leak locations
- Intermittent refrigerant leakage patterns
Professional Leak Detection Strategies
Experts suggest these advanced methods for finding leaks:
- Run the system longer than the first check
- Check with UV light from different angles
- Make sure areas are clean before checking
- Check system pressure before adding dye
Detection Complexity Assessment
| Leak Complexity | Detection Difficulty | Recommended Action |
|---|---|---|
| Micro-leaks | High | Extended system monitoring |
| Intermittent leaks | Medium | Multiple inspection cycles |
| Large system leaks | Low | Immediate repair recommended |
Pro tip: If no leaks show up right away, wait a few days before checking again.
Conclusion
It’s important to have a good plan for finding leaks in your HVAC system. This guide shows you how to add dye to find leaks early. This way, you can fix small problems before they get big and expensive.
Keeping your system in good shape is key. The International Institute of Ammonia Refrigeration says to check your system every three months. This helps find and fix small problems before they cause big damage and save you money.
Experts say using UV dye and regular maintenance is the best way to care for your system. Stay up to date with the latest methods, use good tools, and keep up with maintenance. This will help your HVAC system work its best.
Learning about leak detection can save you time, money, and help the environment. Keep learning and updating your maintenance plans. This will keep your HVAC system running well and efficiently.

